After an easy and uneventful journey by Elizabeth line, I met up with seven other members at Heathrow Terminal 5. Once our group was complete (including Joe Brown of London Railway Atlas etc fame), we were led into the mezzanine level station Control Room. Despite housing all sorts of controls and switches, we were not distracted but returned to the mezzanine. We first had a look at the suspiciously unutilised third section of the rail complex's mezzanine. Its main feature is the metal frame of what should be a third array of lifts, connecting the terminal levels to the underground station, like the two other sets of lifts next to it.
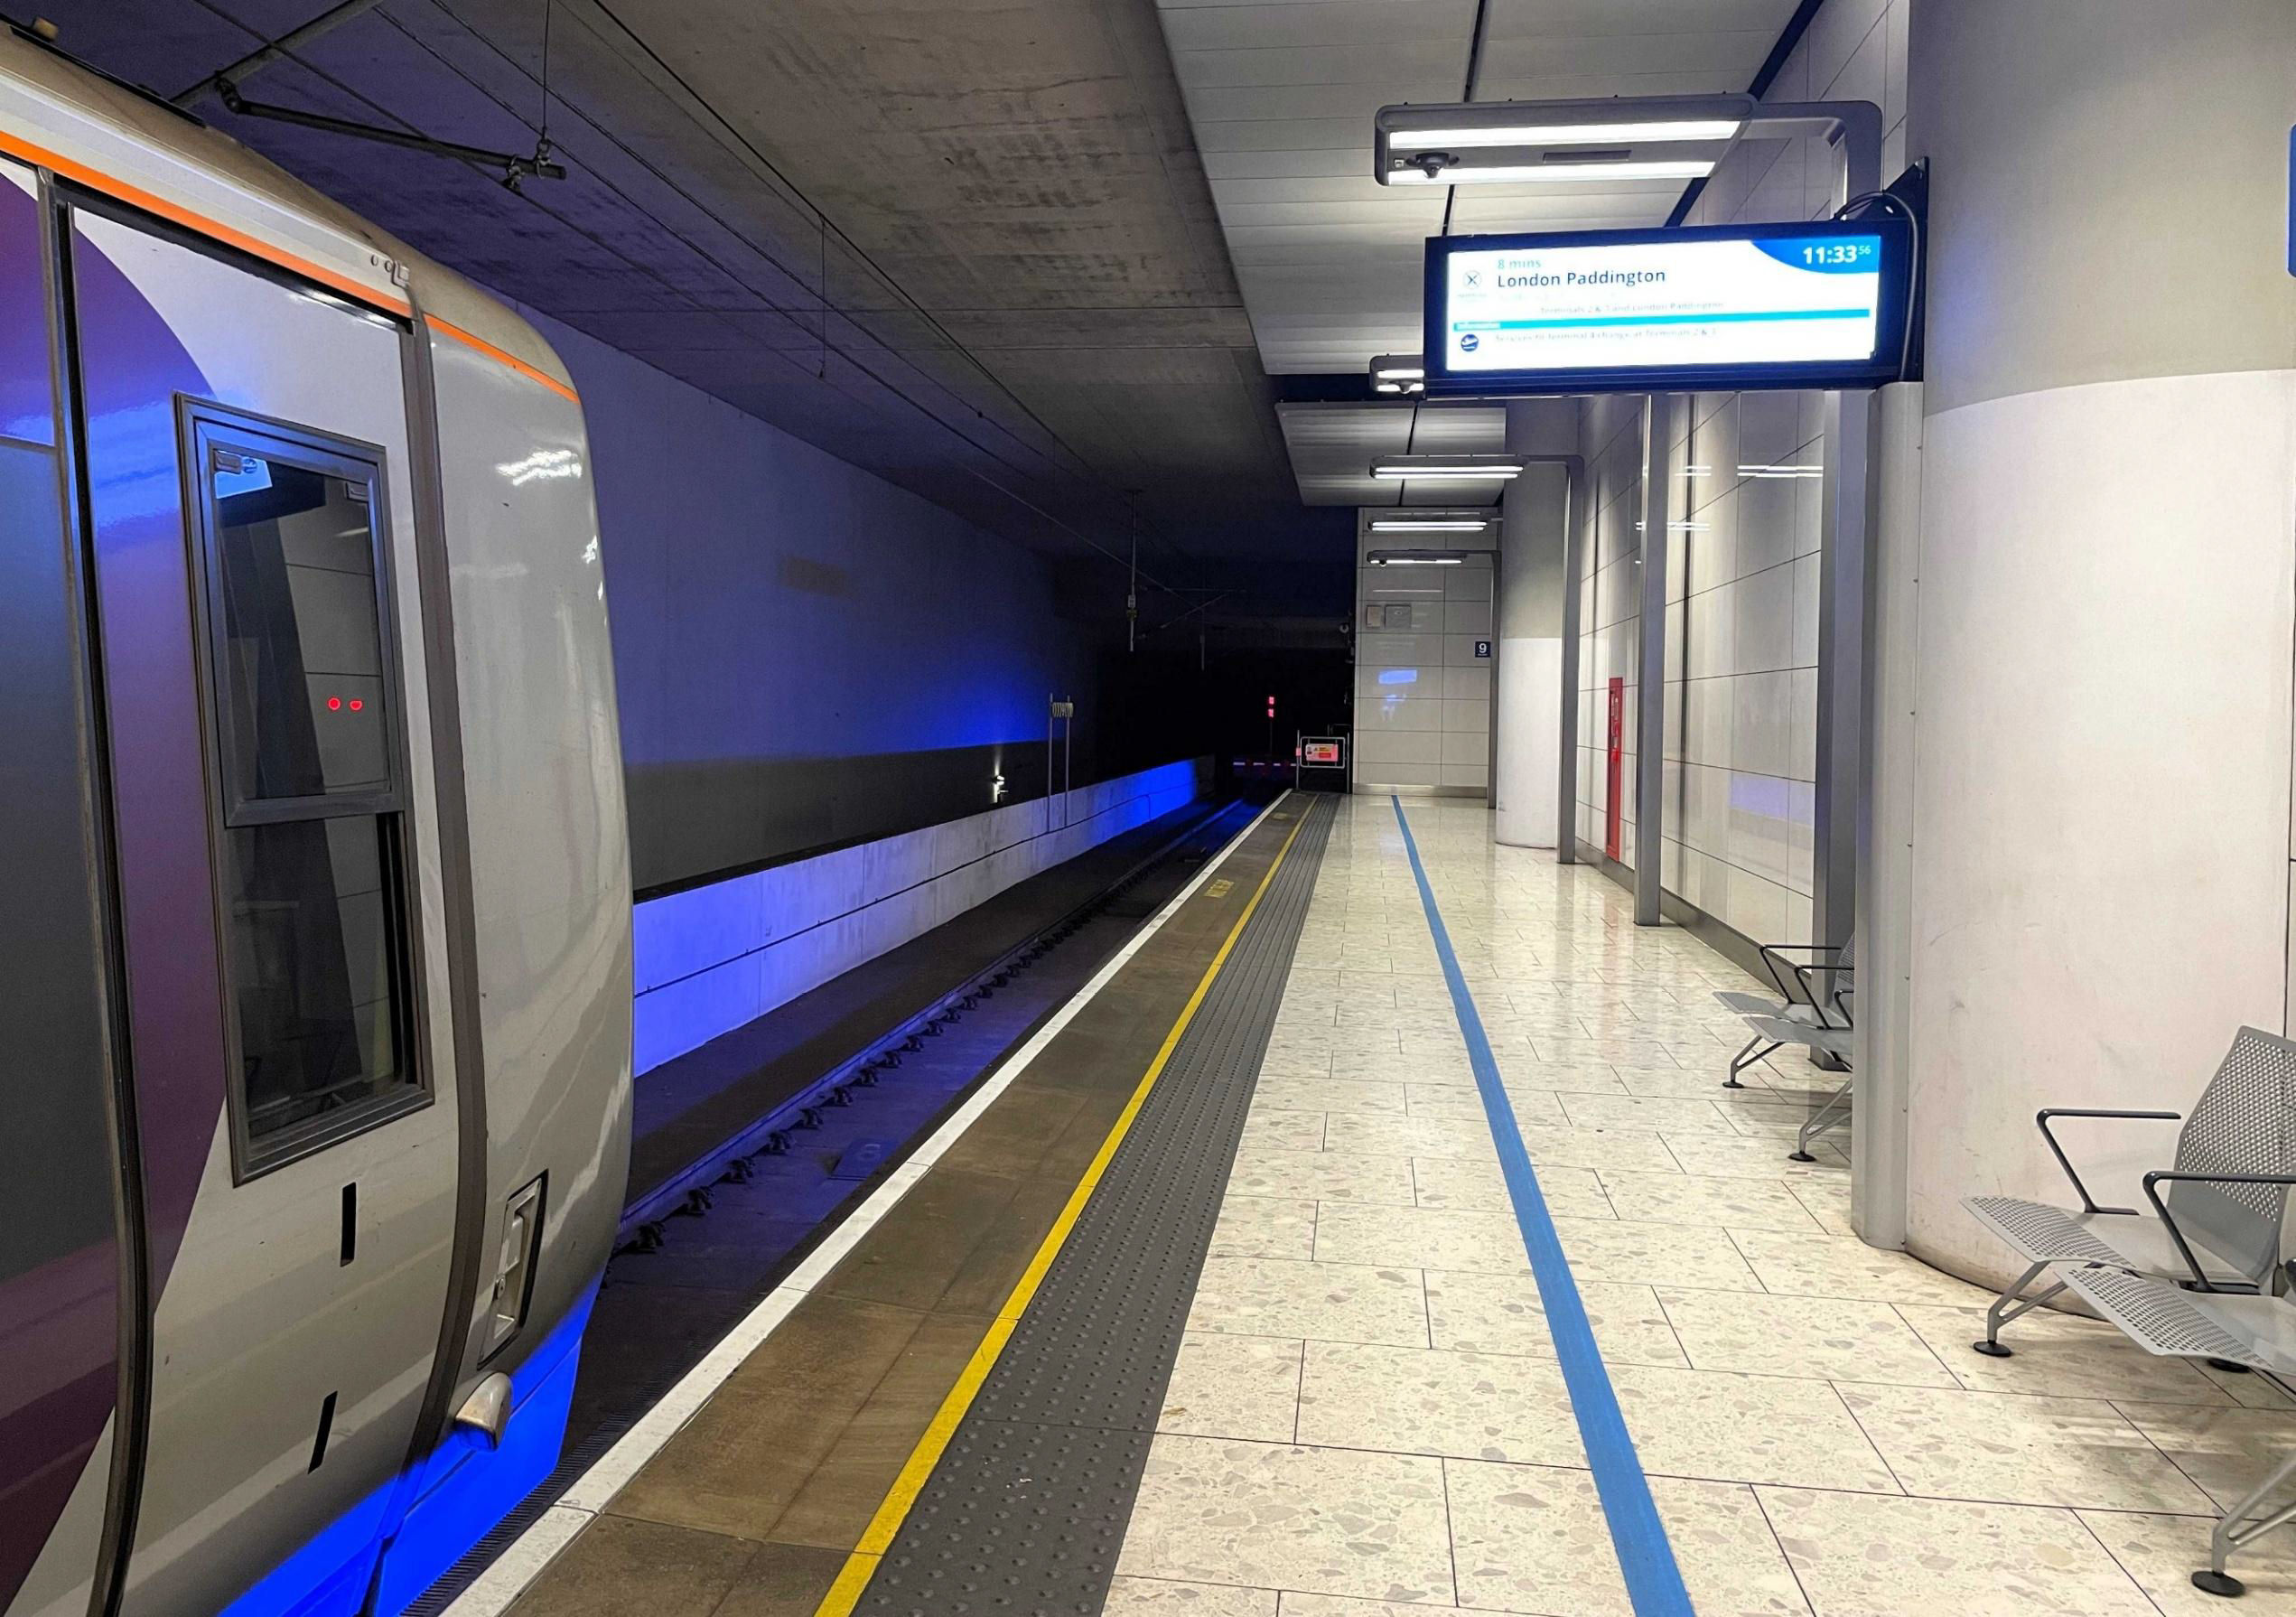
A Heathrow Express Train in platform 3 at Heathrow Terminal 5 station.
[© Adam Turner 2026]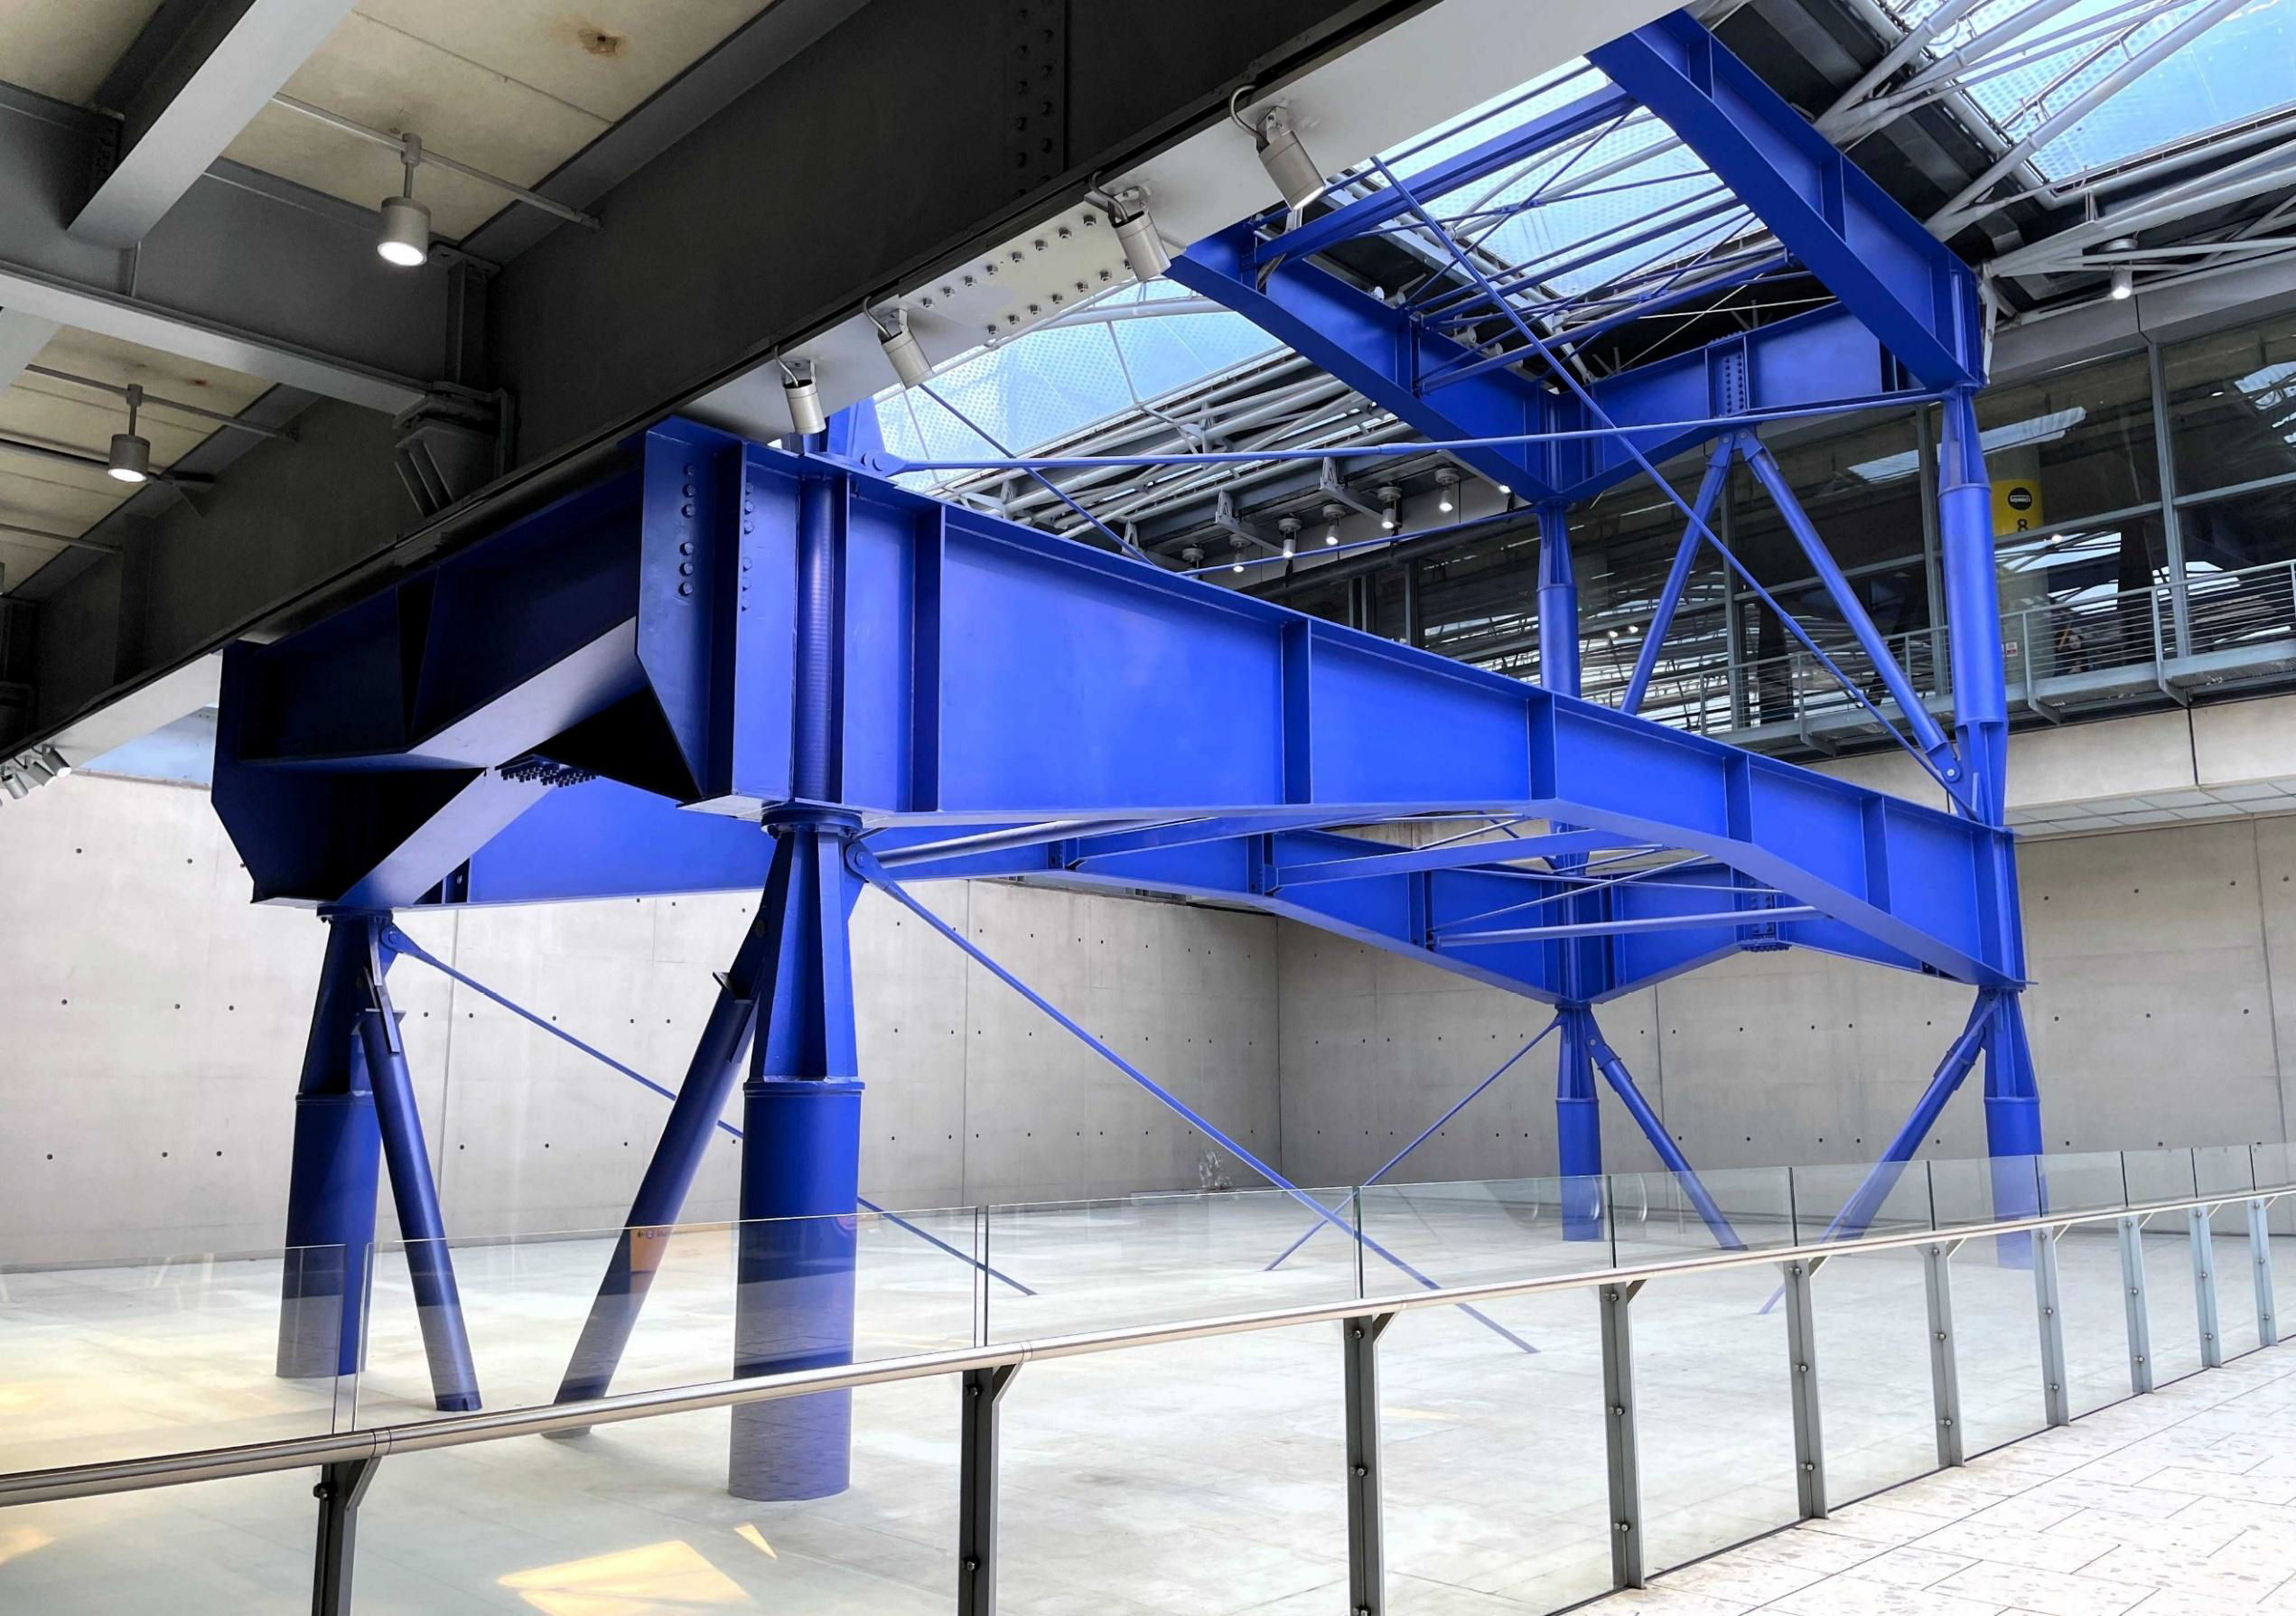
The metal frame of what should be a third array of lifts.
[© Adam Turner 2026](London Railway Atlas 2023 page 24 4B) Heathrow Terminal 5 station was conceived to be a (partially) through station with three island platforms, one for the Underground Piccadilly line at the north, and two for mainline rail links from the east as well as from the west. As the western rail link was only a proposal at the time and large-scale modifications so close to the terminal building would have been immensely costly, it was decided to only fully build the London Underground and one of the other island platforms. This southern island was just for passive provision. Over time, several western rail links have been proposed: South towards Staines and Virginia Water to link up with the South Western Railway network and a link north back towards the Great Western main line, to make connections to Reading faster.
https://tinyurl.com/y2a3z66a is a 2018 NR document with further information.
Our group was then led down to the Heathrow Express platforms and through some doors, to emerge behind P3 buffers. We were standing next to a long plasterboard wall stretching the whole length of the platform, hiding away our next destination. Also part of the passive provision are two railway tunnels, stretching westwards from P3 buffer stops for about 100m, before ending abruptly in a concrete wall. Next to P3 track, another track trough was visible, ready to be ballasted and equipped to form P2 track.
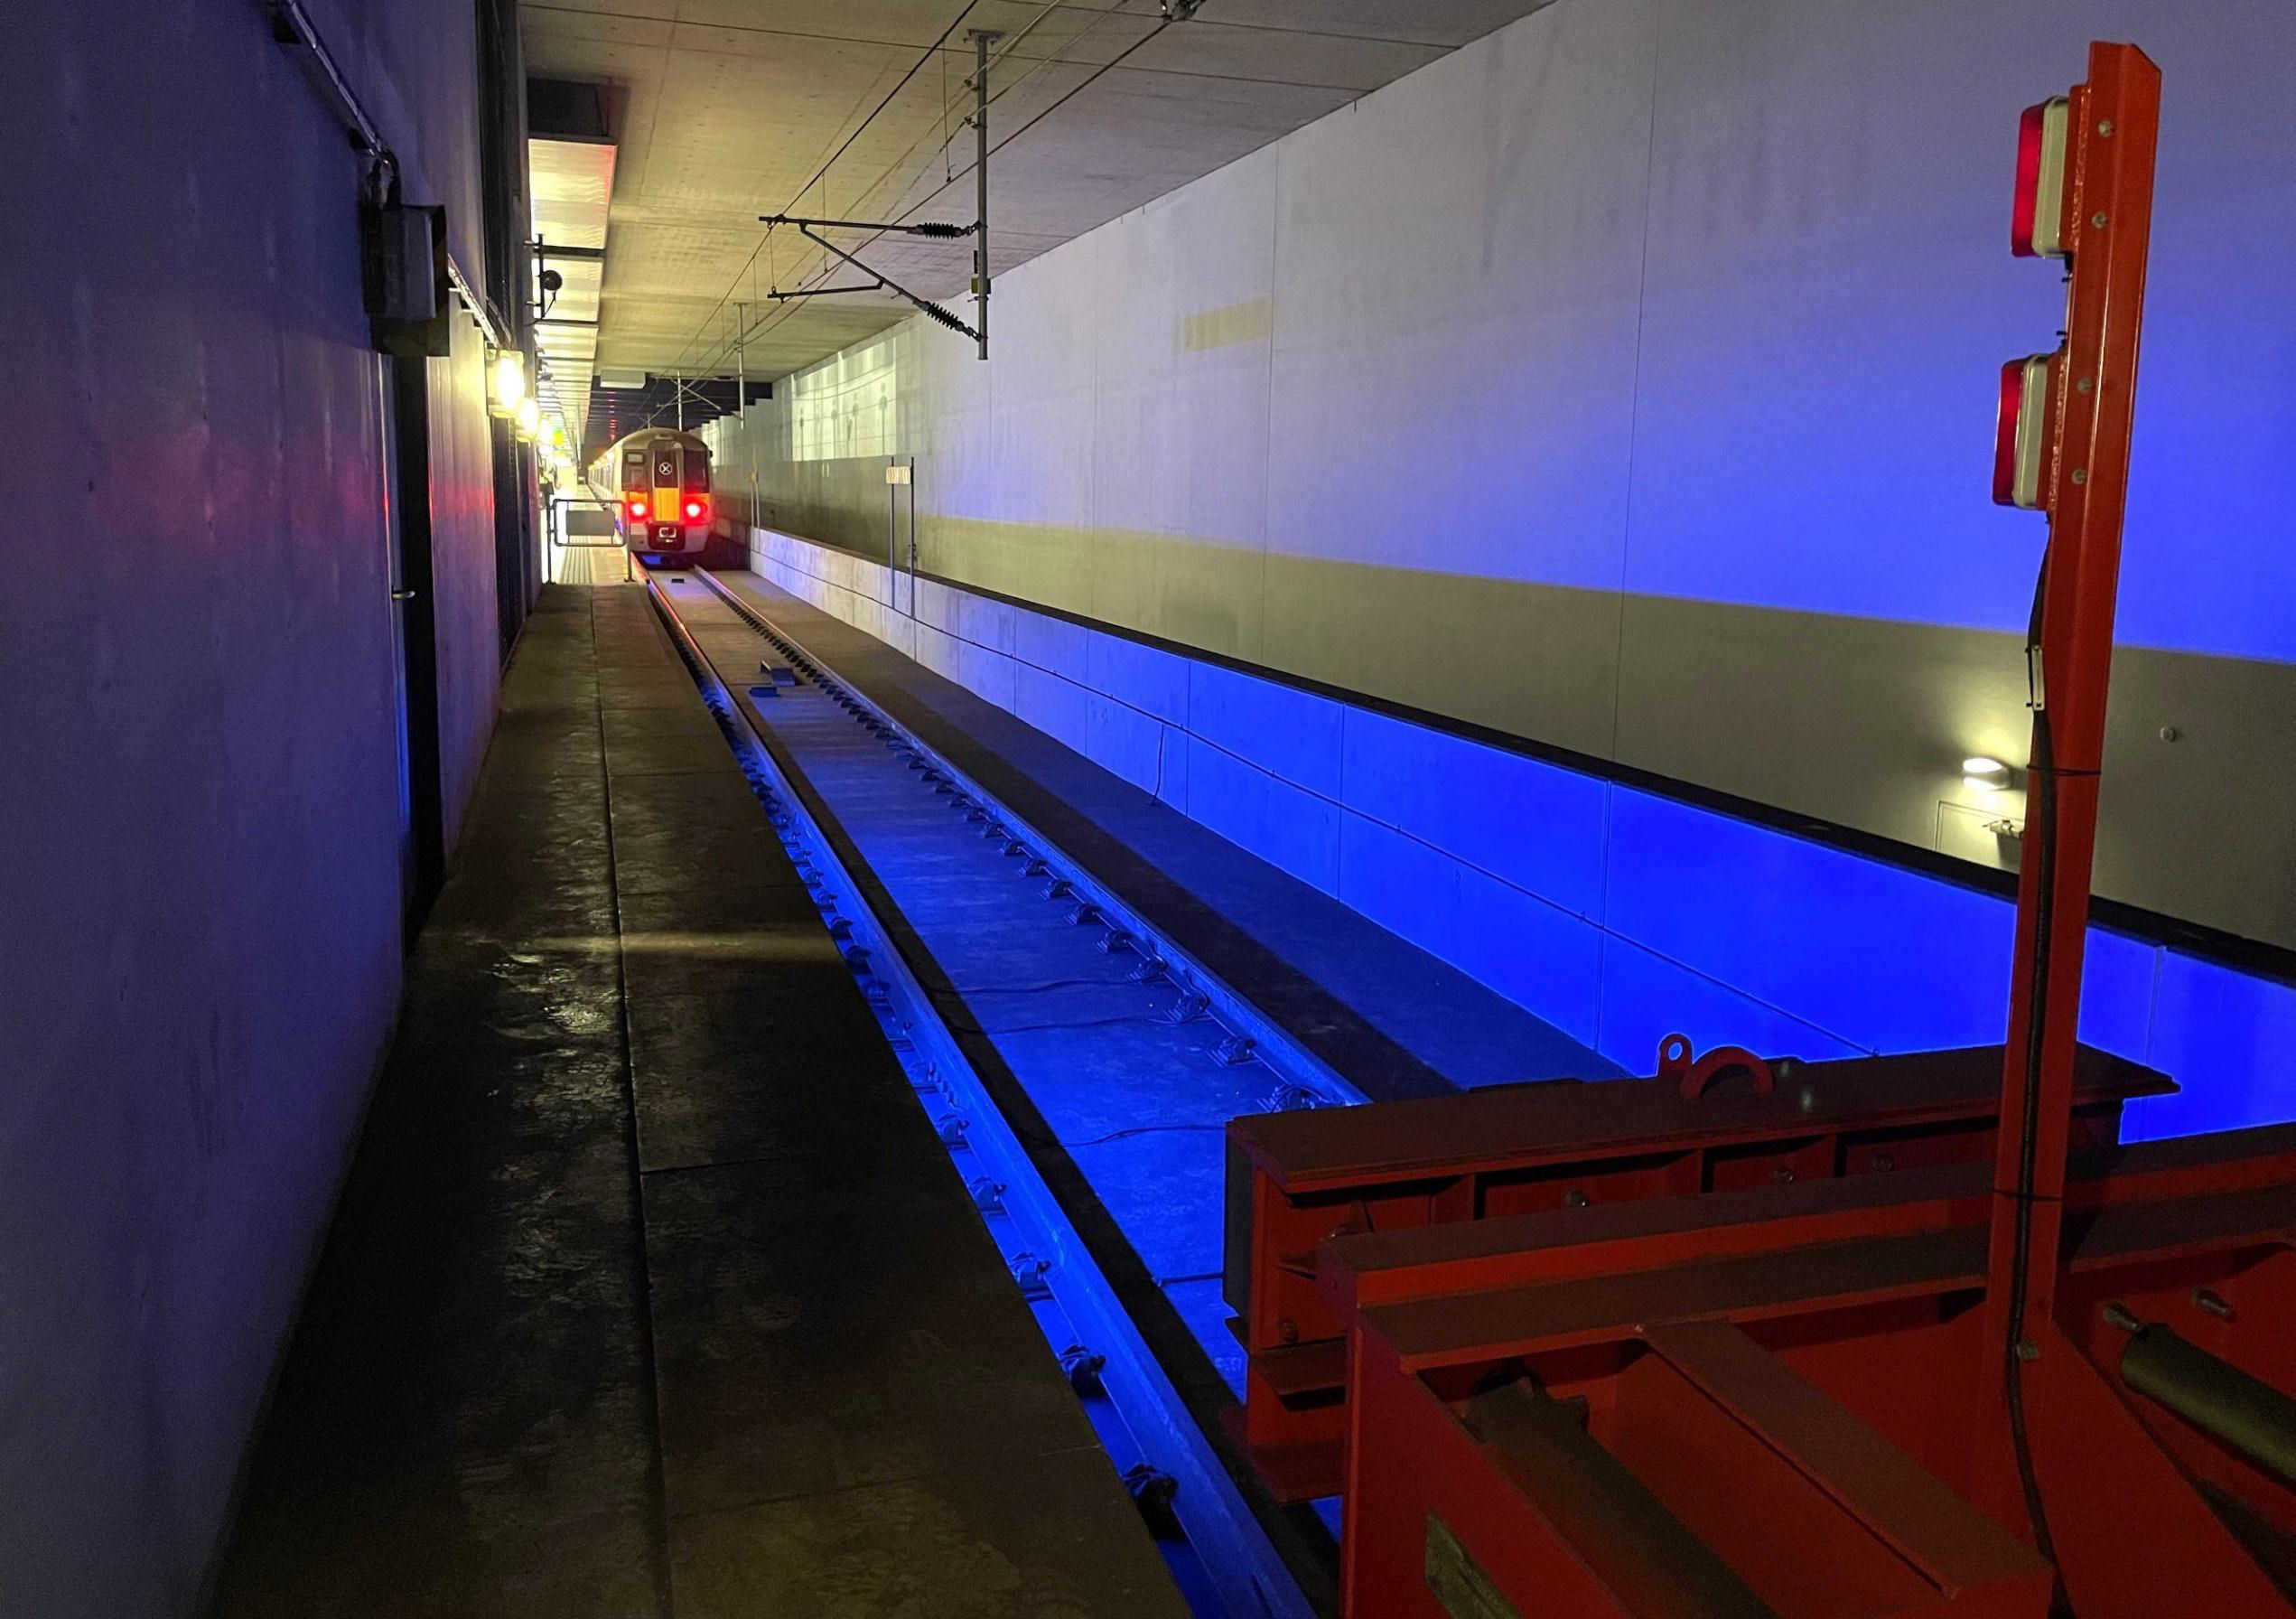
Alongside the buffers at the Heathrow Express platform 3.
[© Adam Turner 2026]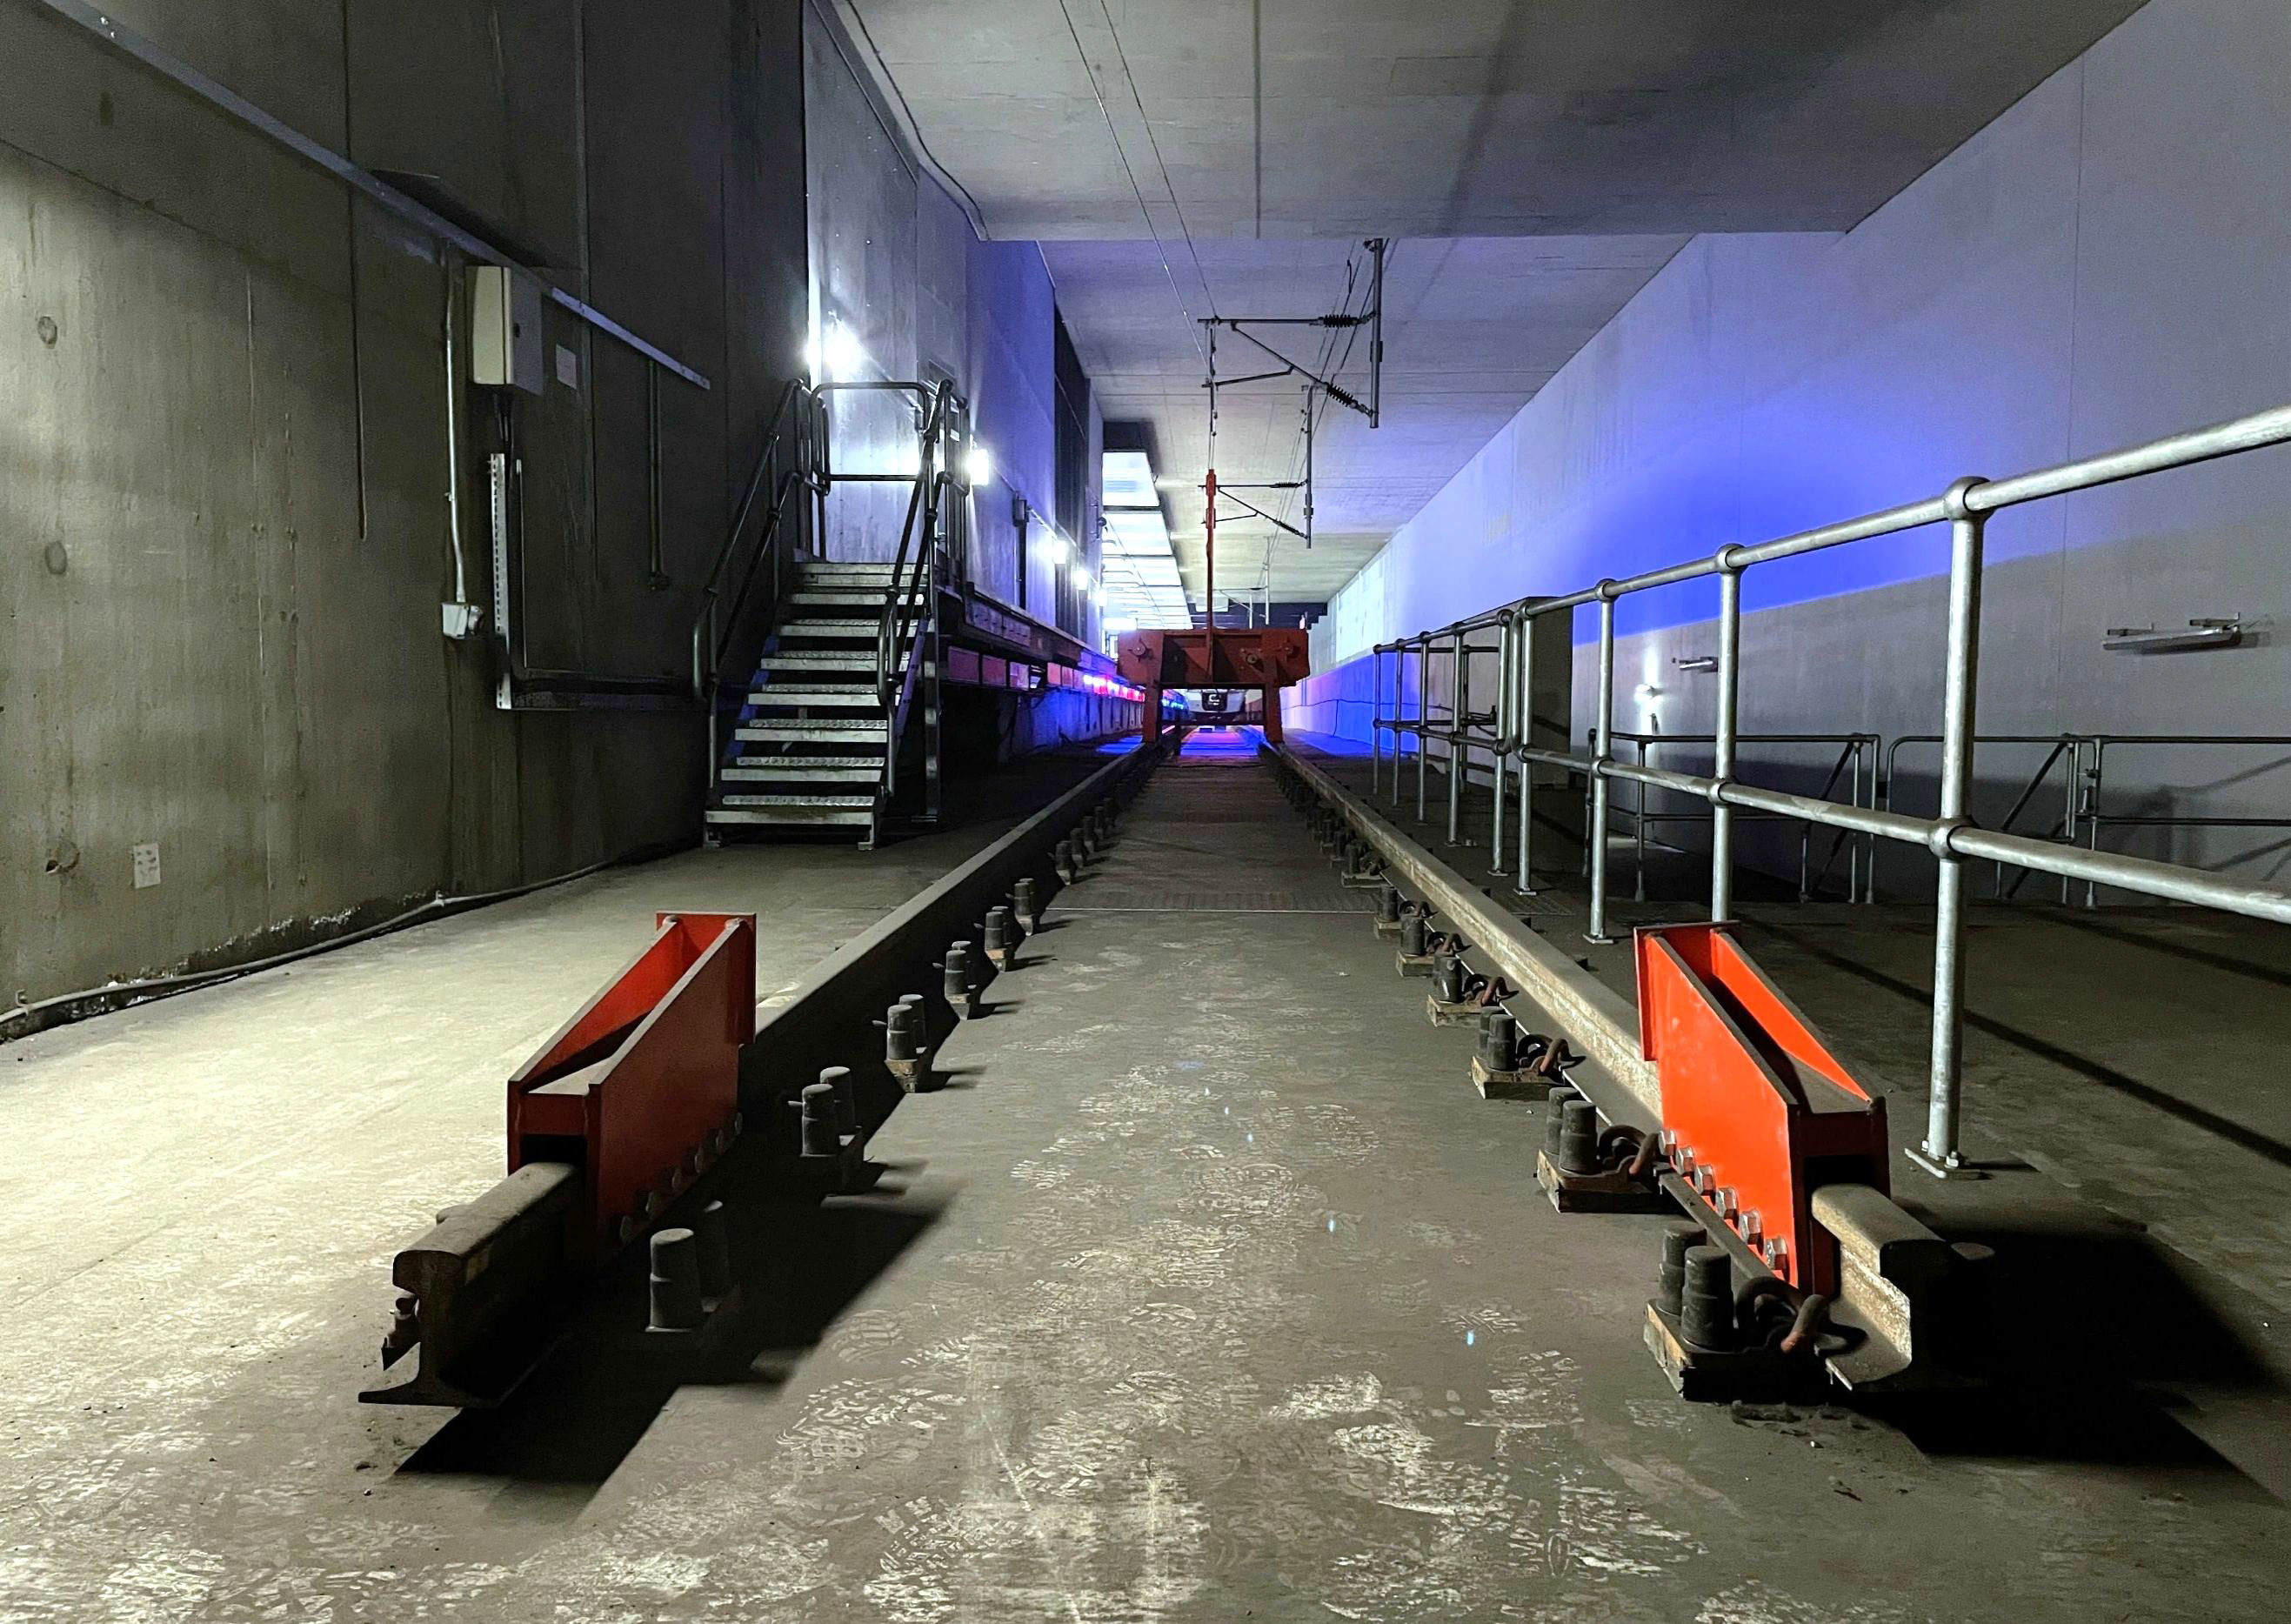
Behind the buffers at Heathrow Express platform 3.
[© Adam Turner 2026]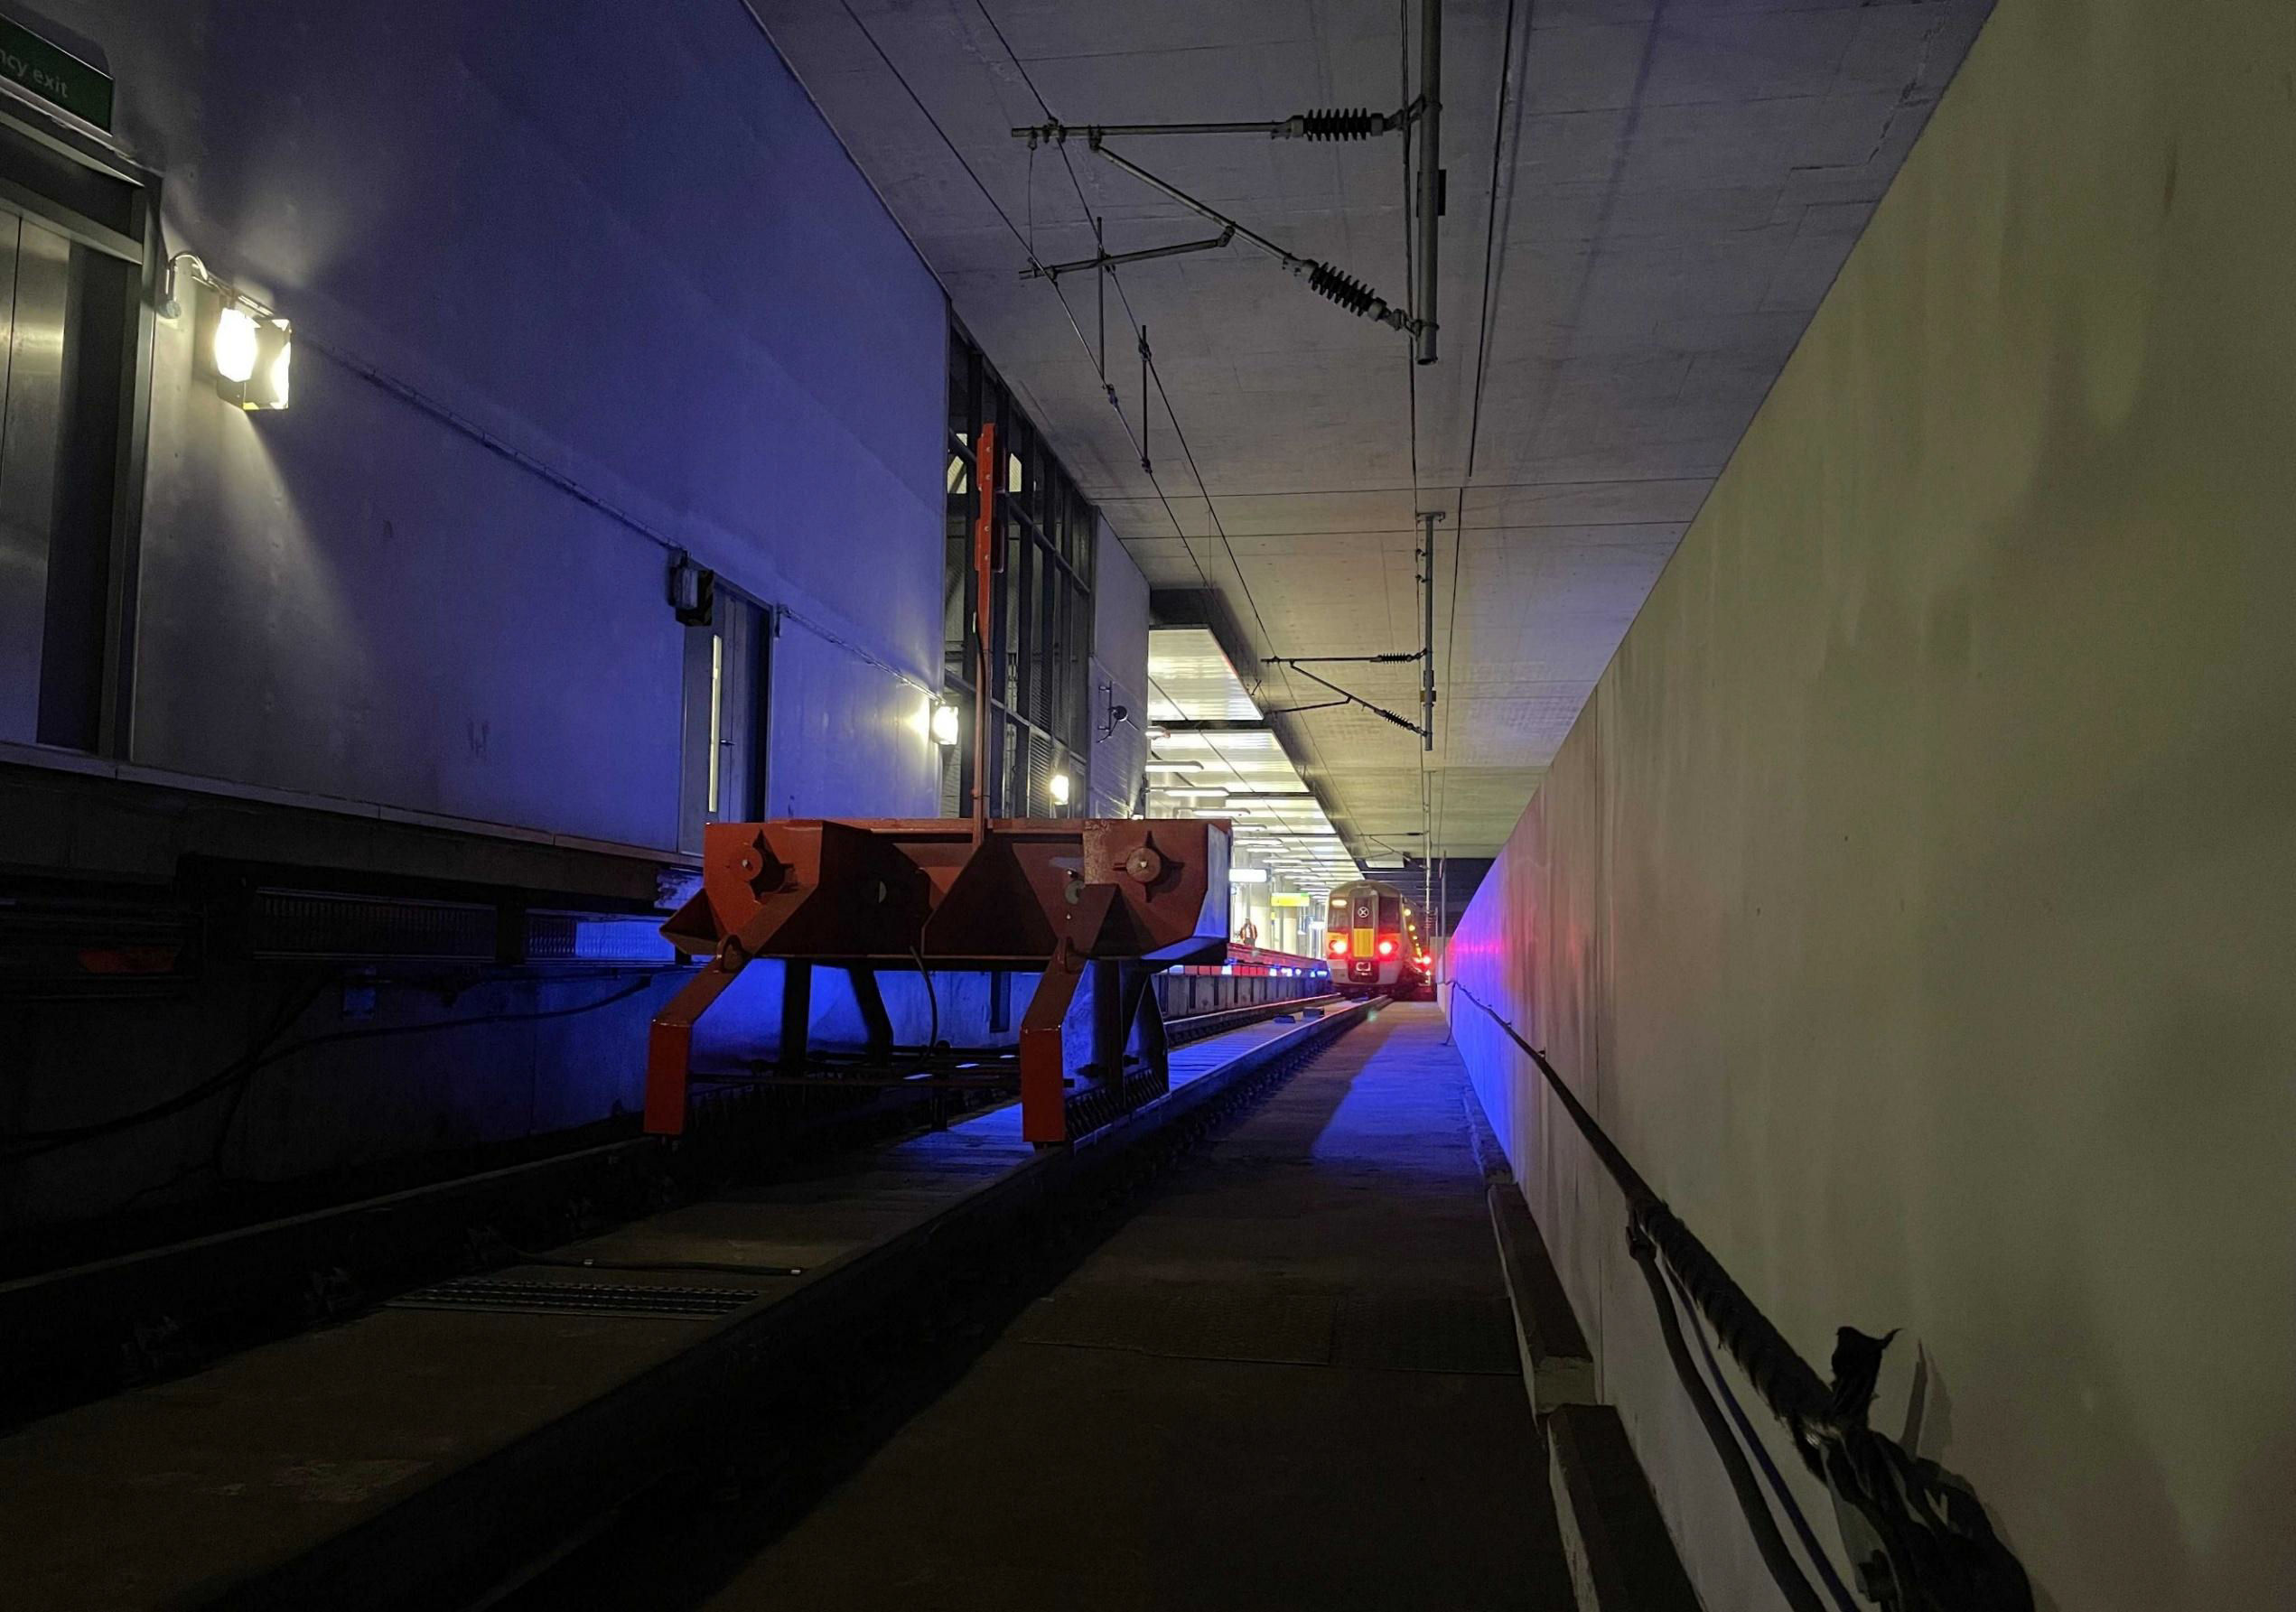
Next to the long plasterboard wall stretching the whole length of platform 3..
[© Adam Turner 2026]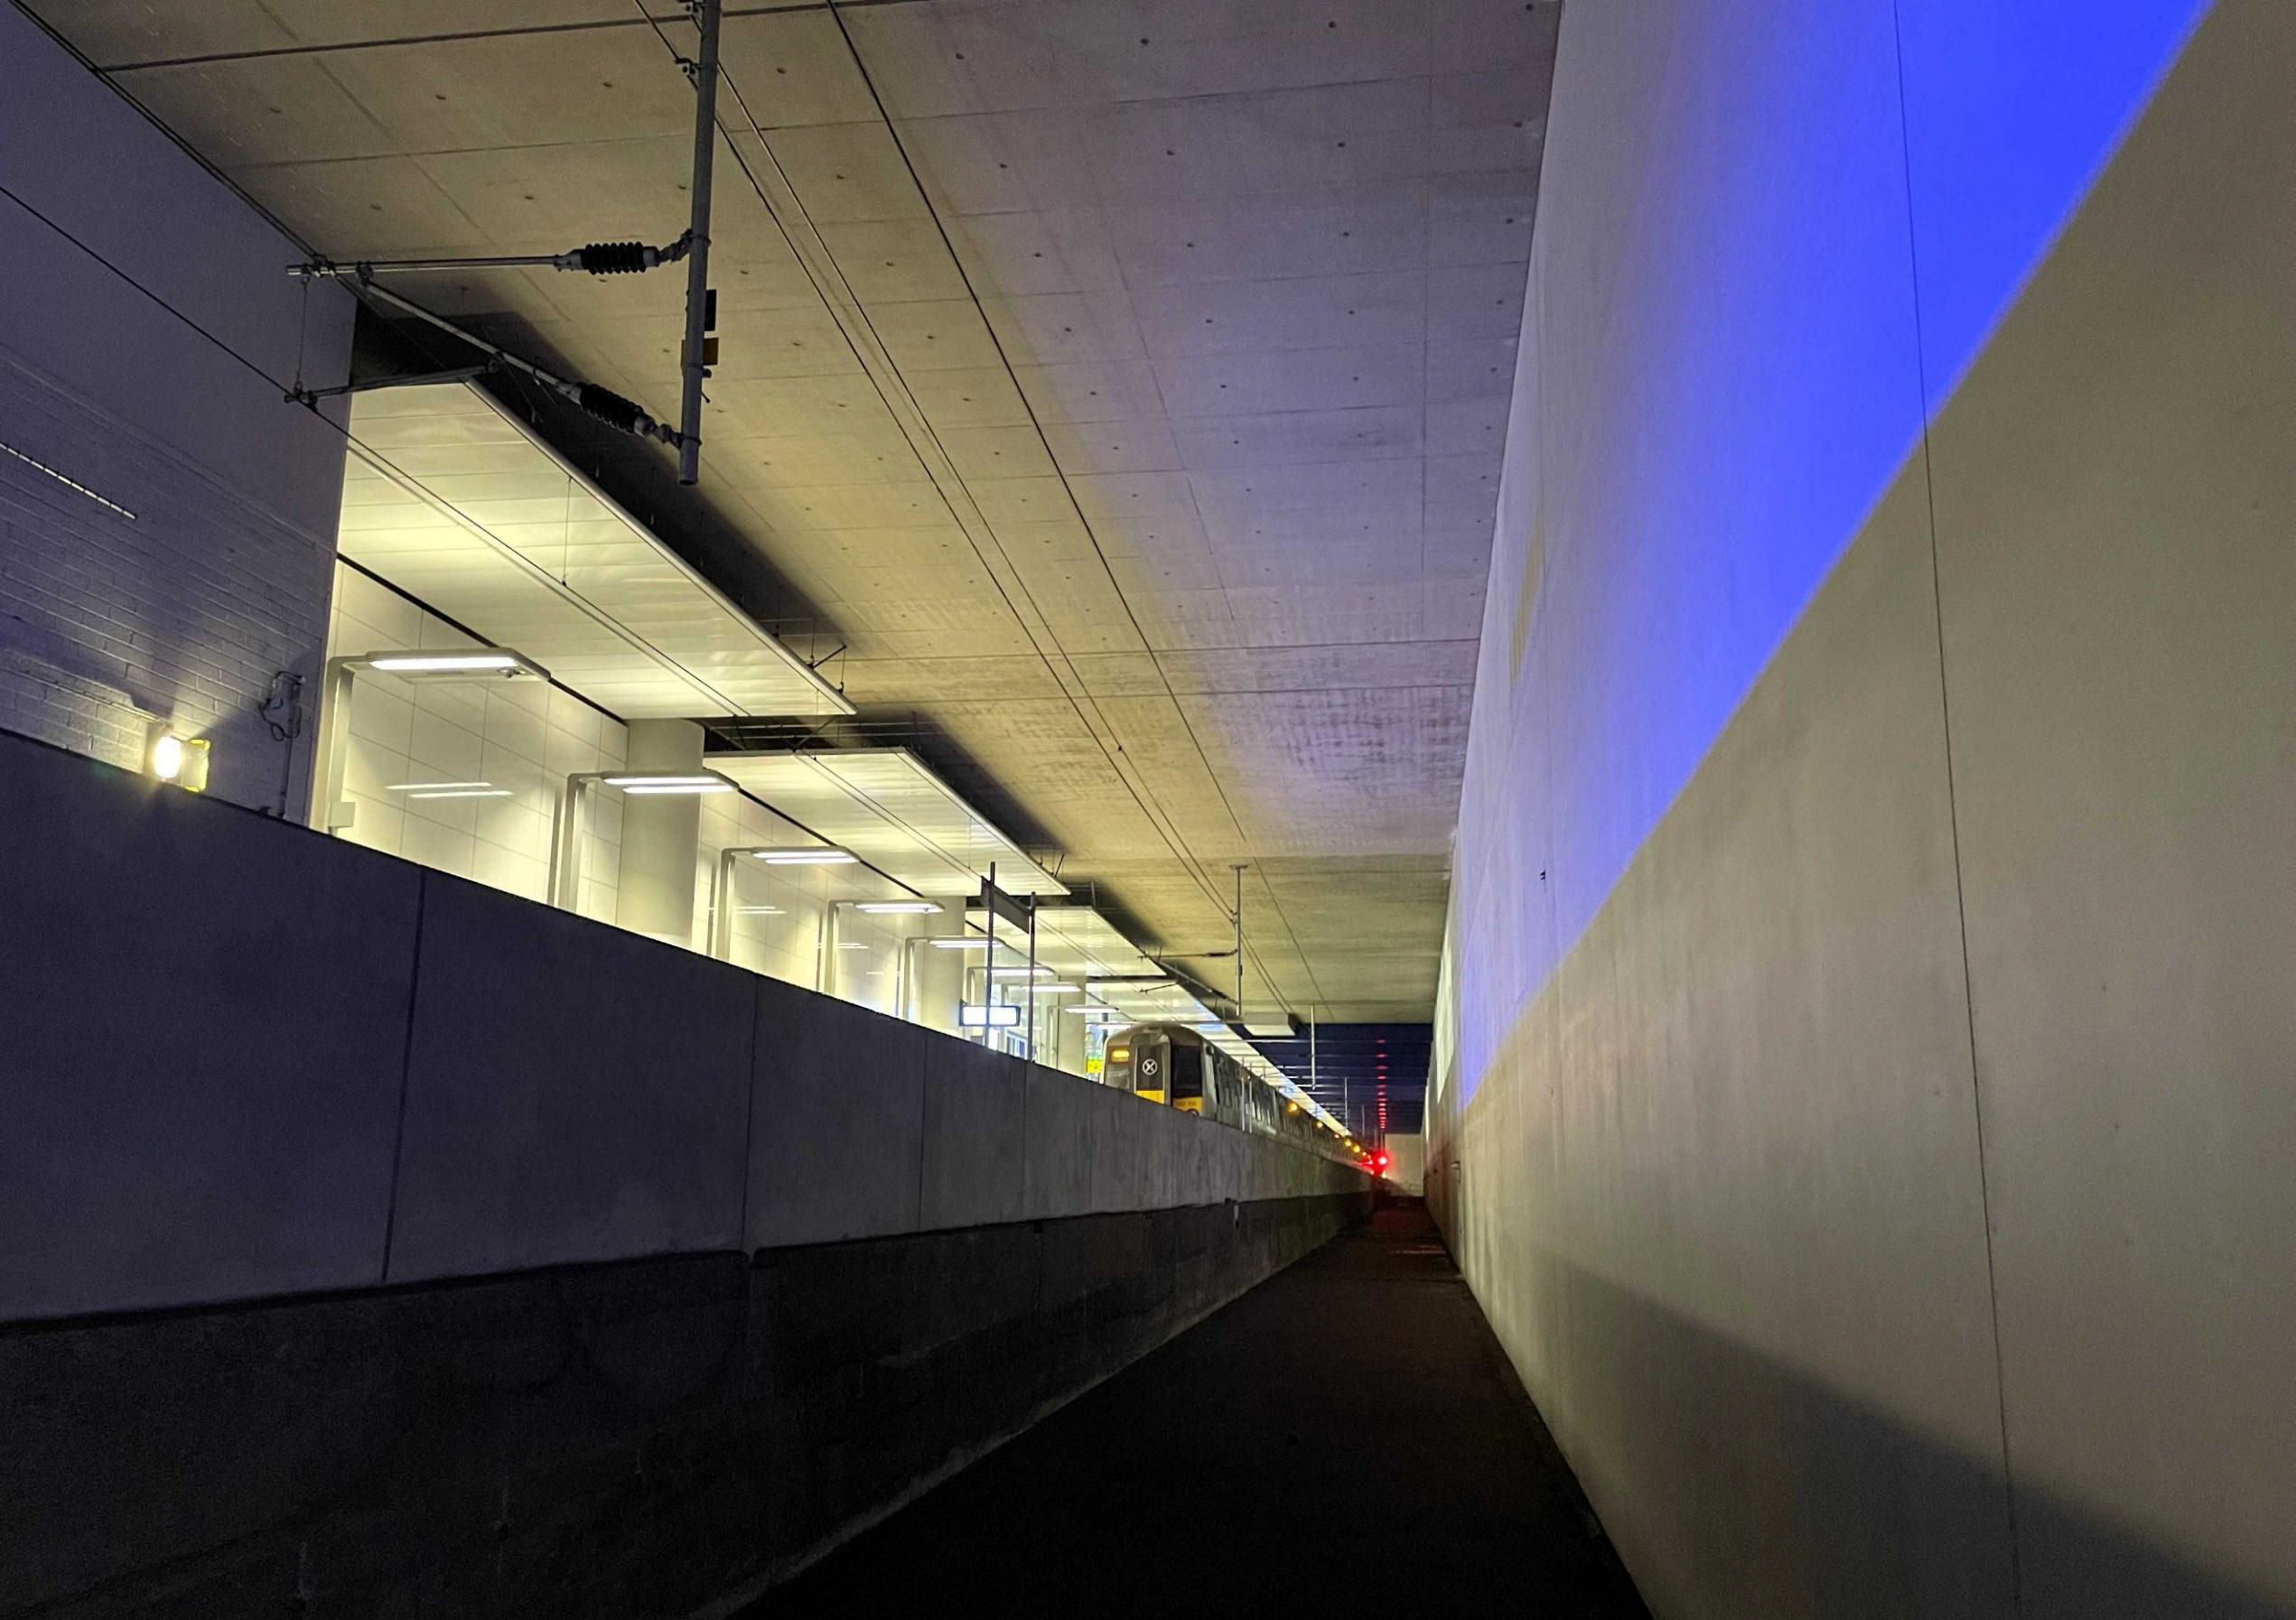
The track trough ready to be equipped to form platform 2.
[© Adam Turner 2026]After another set of doors, we emerged into the chasm that is the concrete shell for P1 & 2 of the station. At the moment, it is an impressively sized empty space, only segmented by two rows of pillars and...
...an emergency access / egress shaft, the empty metal frames for the lifts and some sumps. The plasterboard wall is roughly along the edge of P2. In the two far corners of where the P1 track would be, empty tunnels lead off into the darkness. The eastern tunnel leads towards the existing railway to Heathrow Central and the western tunnel leads to another dead end, provision for a western rail link.
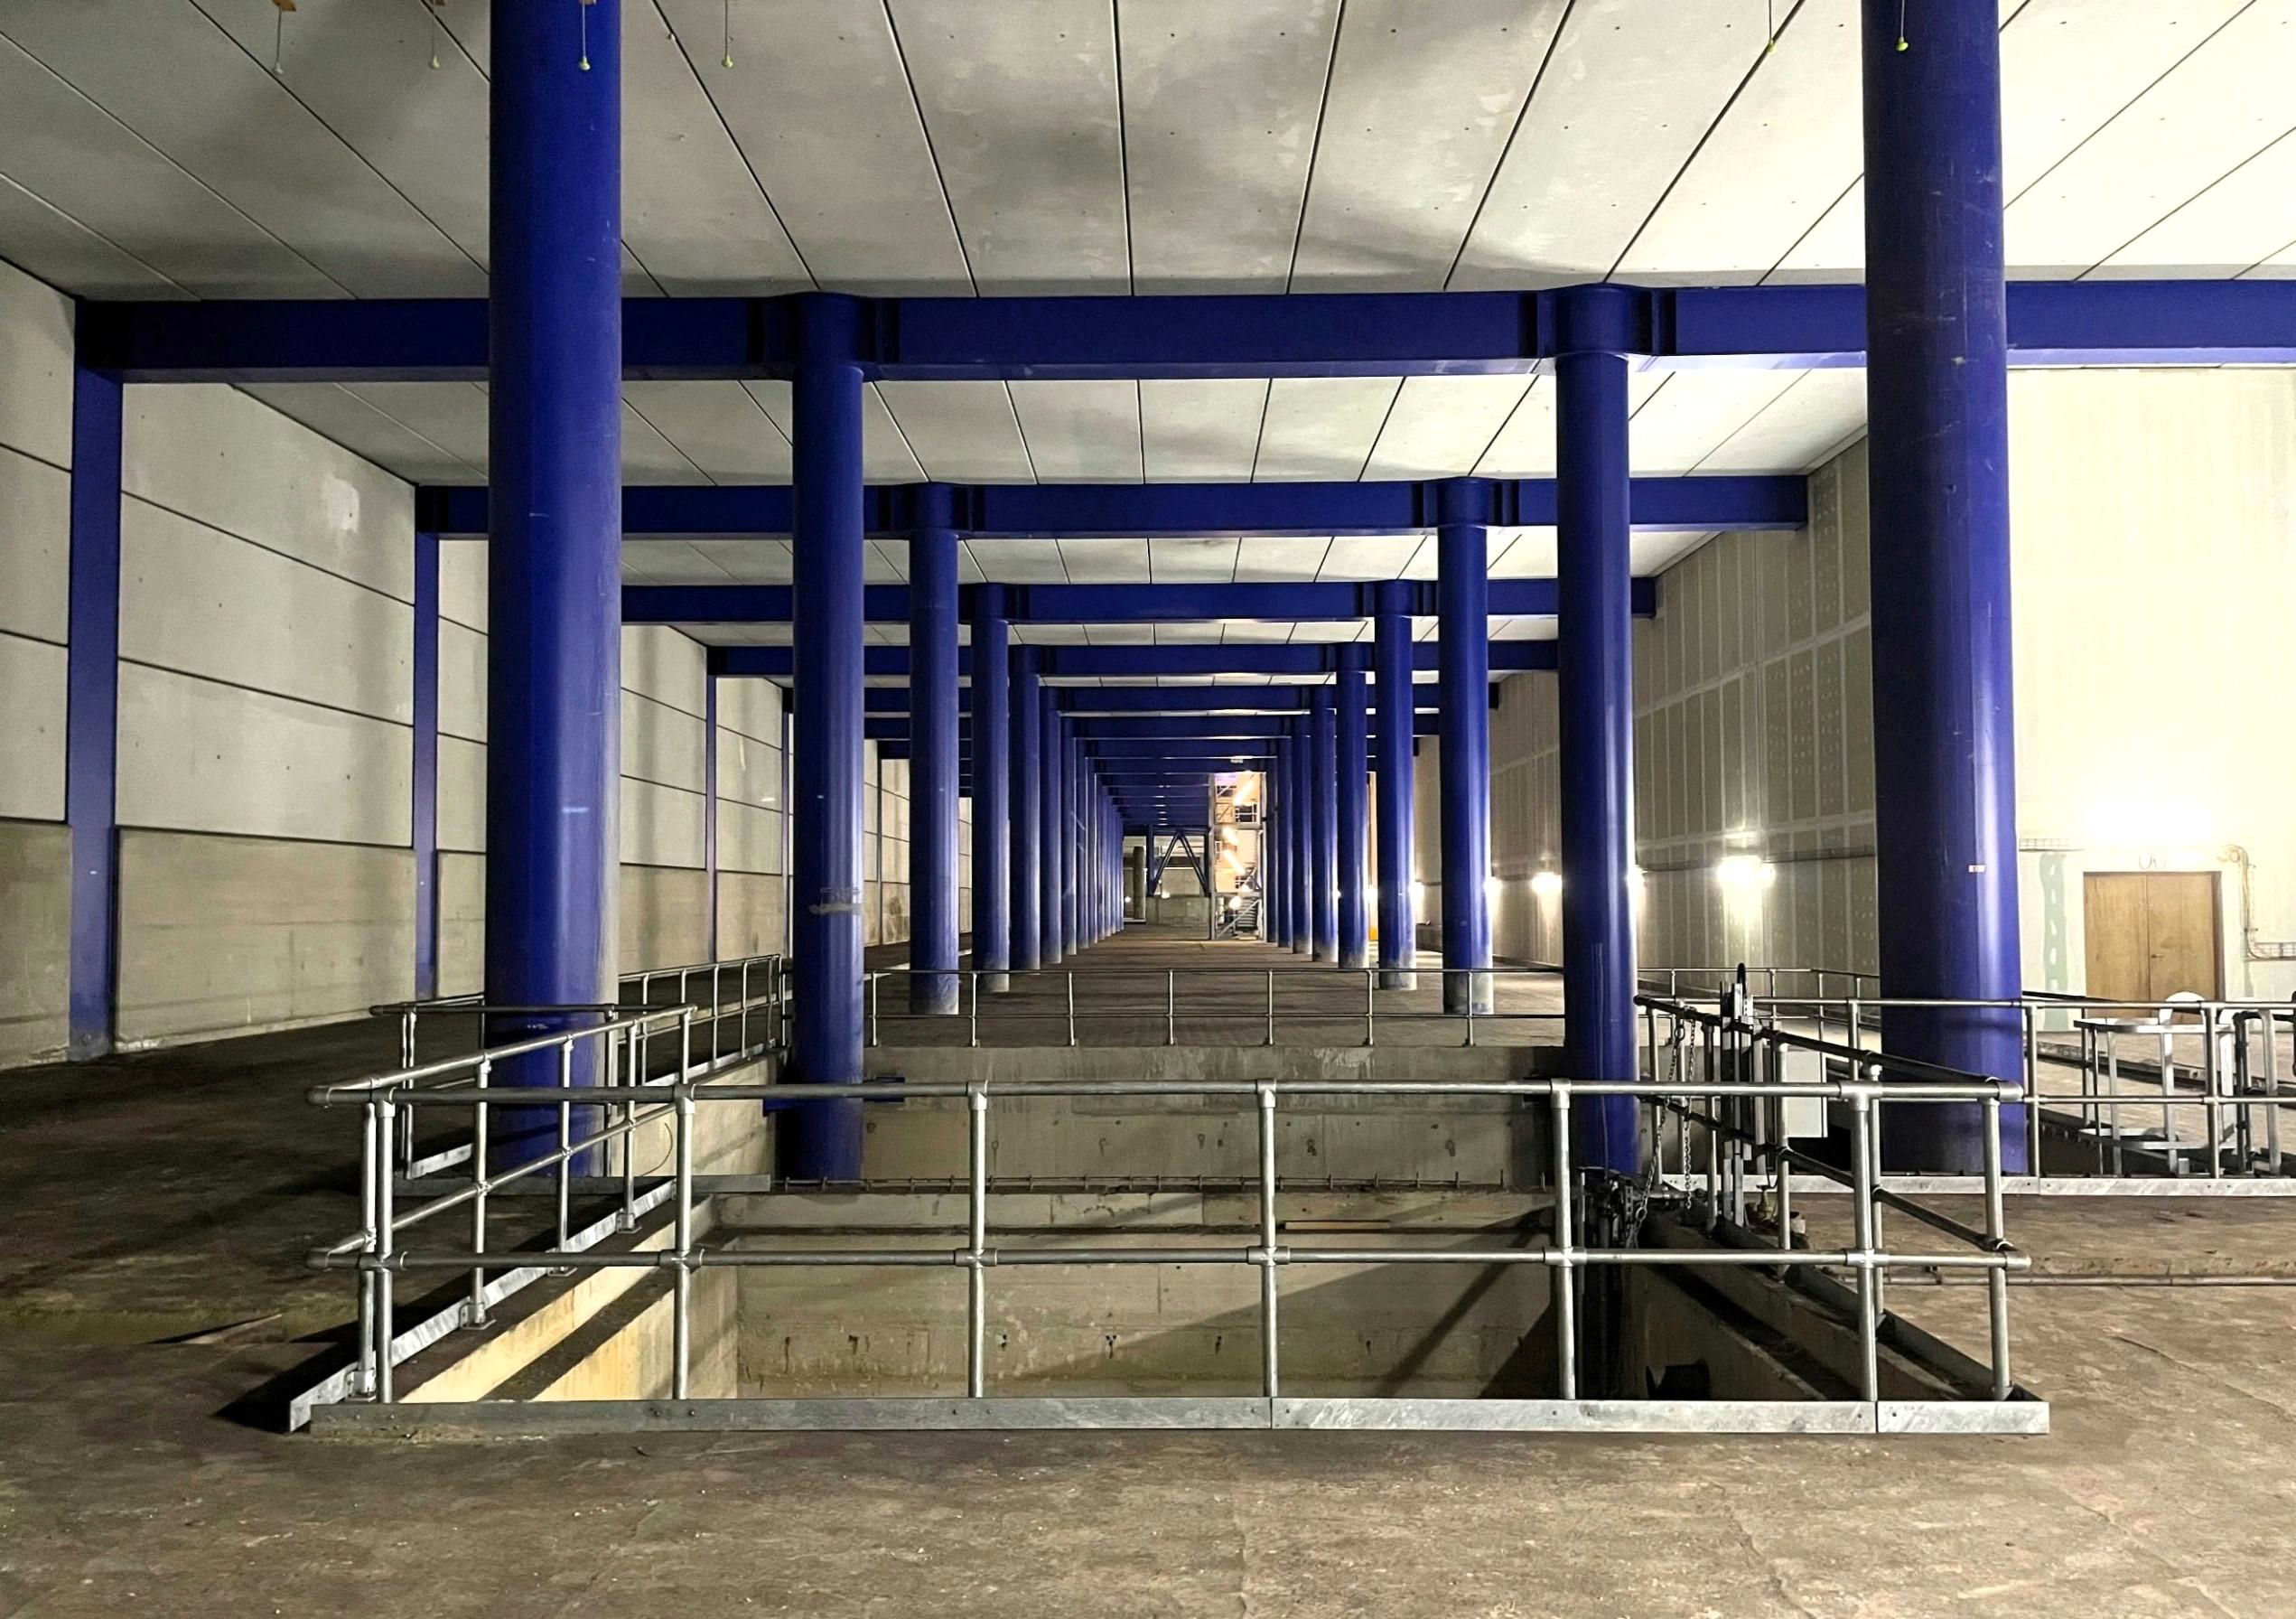
The concrete shell for platform 1 & 2 of the station. At the moment, it is an impressively sized empty space.
[© Adam Turner 2026]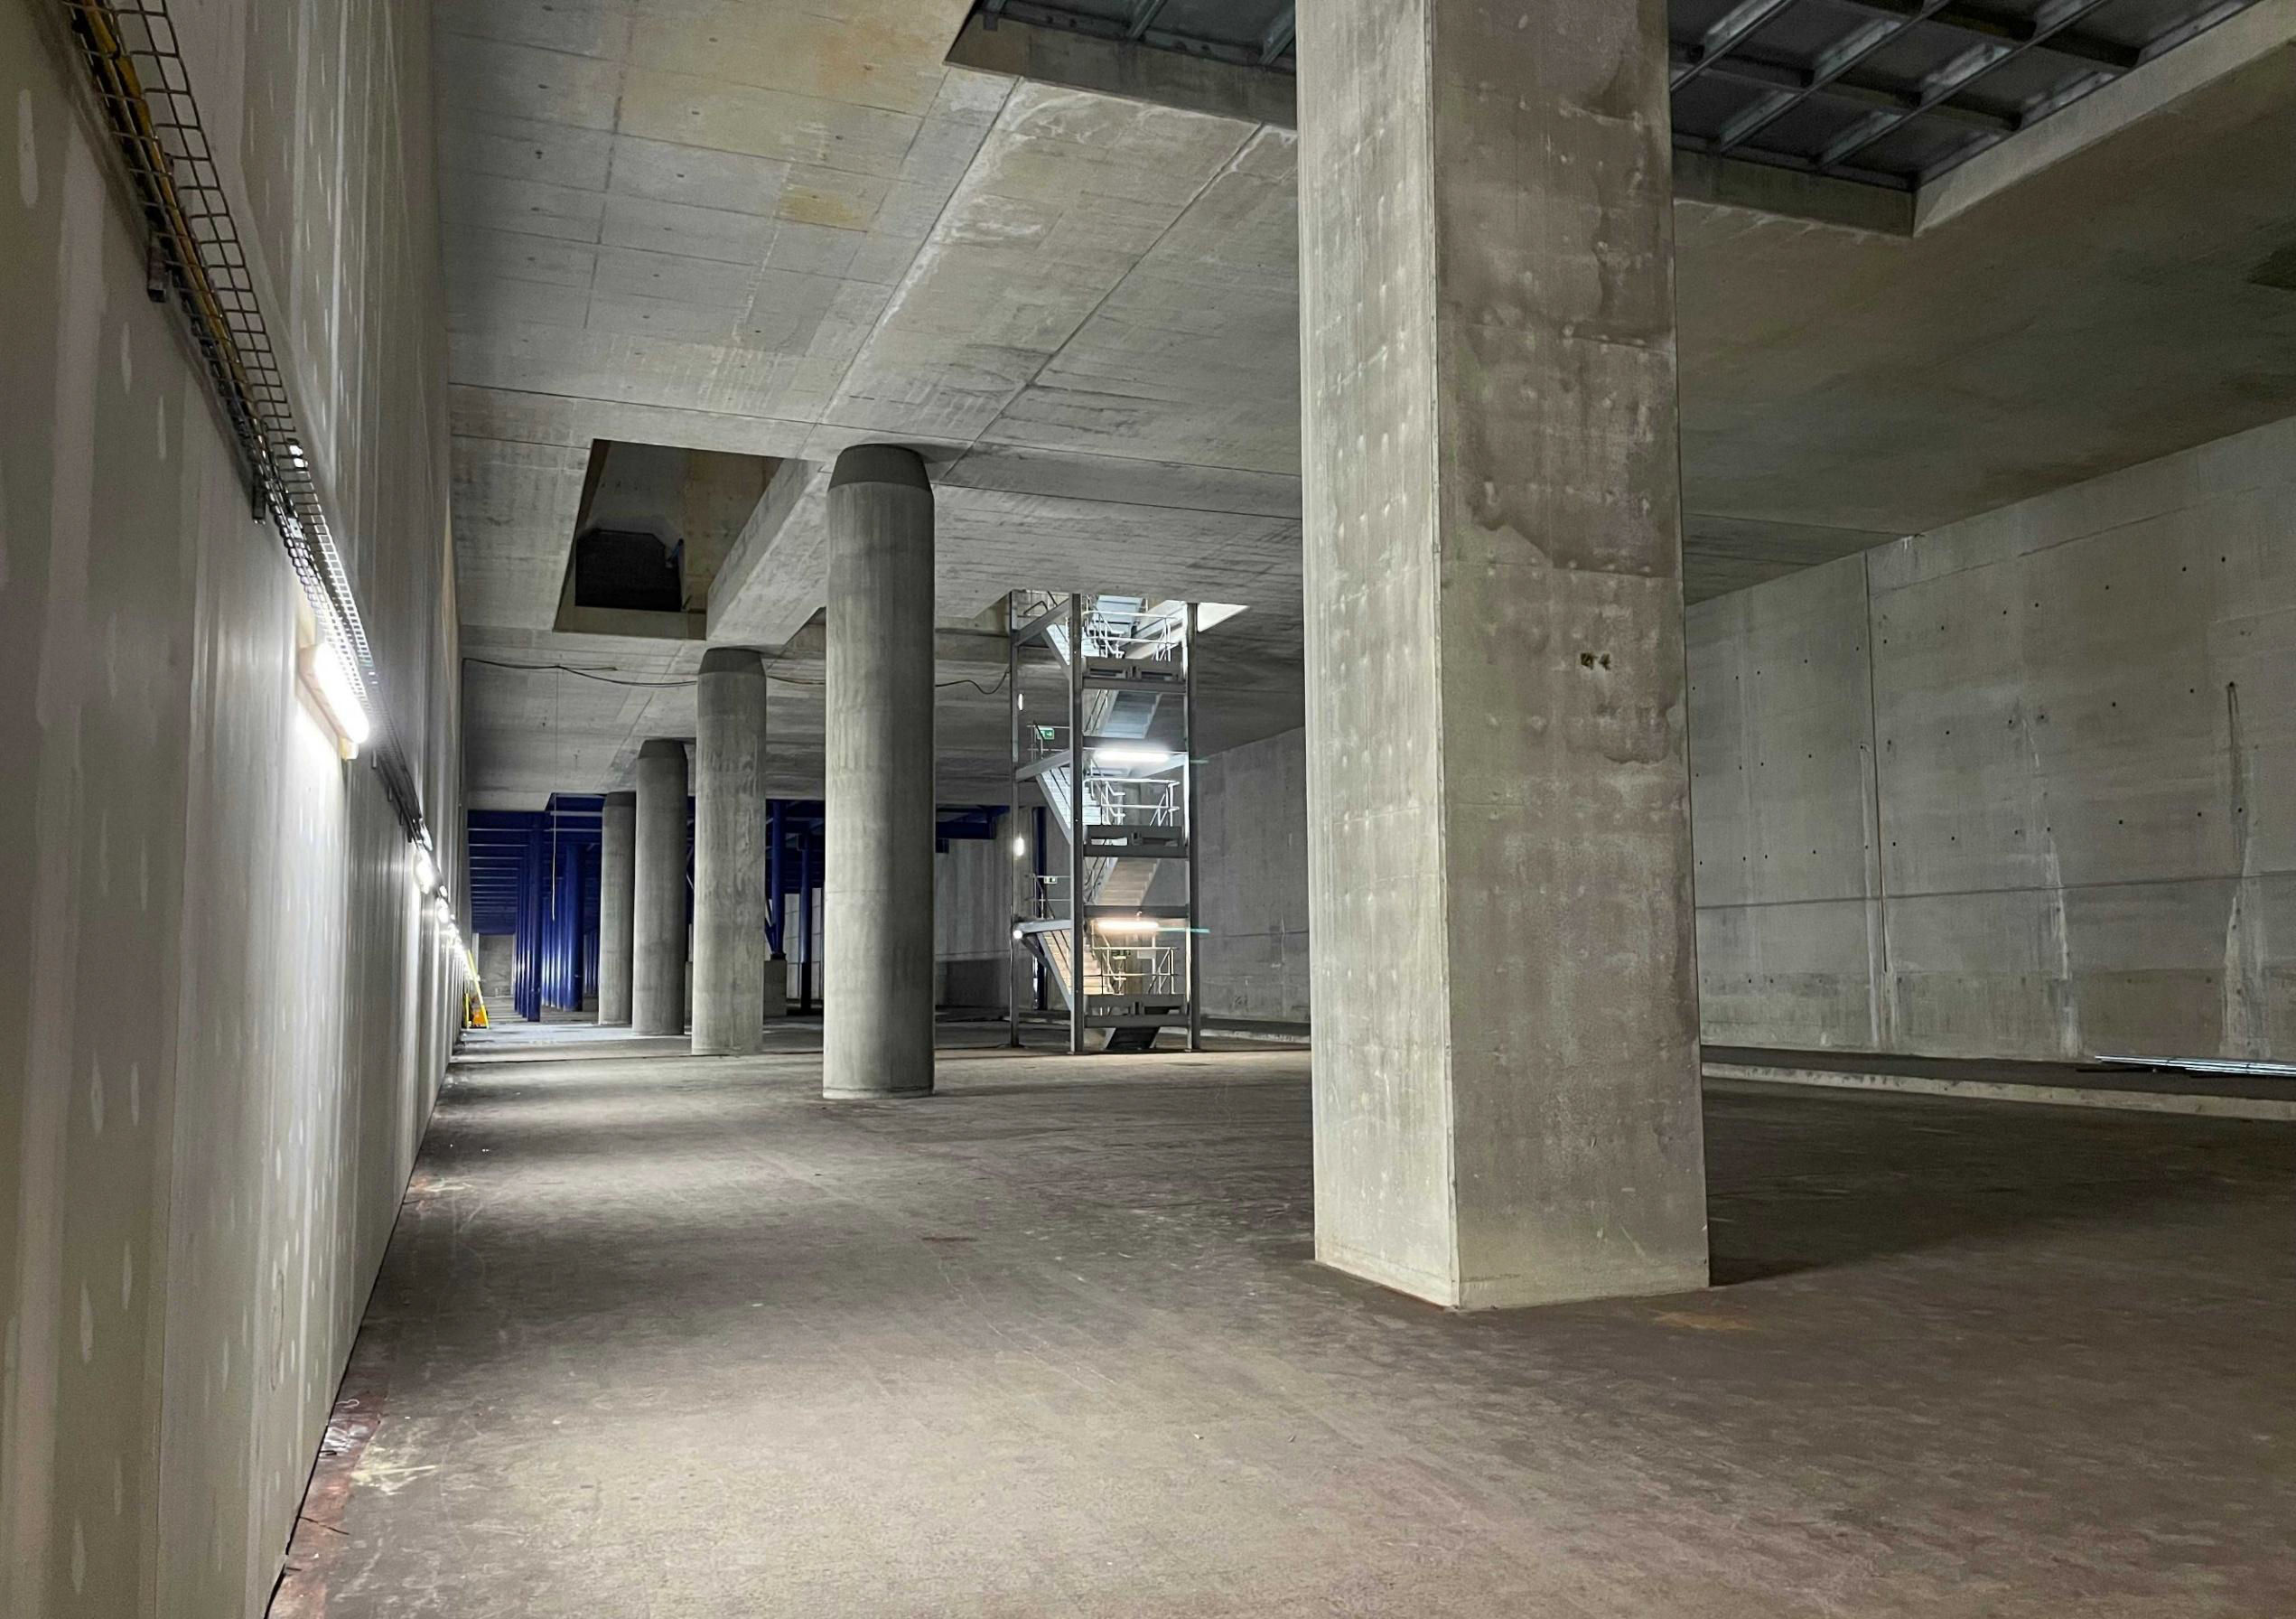
The concrete shell for platform 1 & 2 of the station with the emergency access shaft.
[© Adam Turner 2026]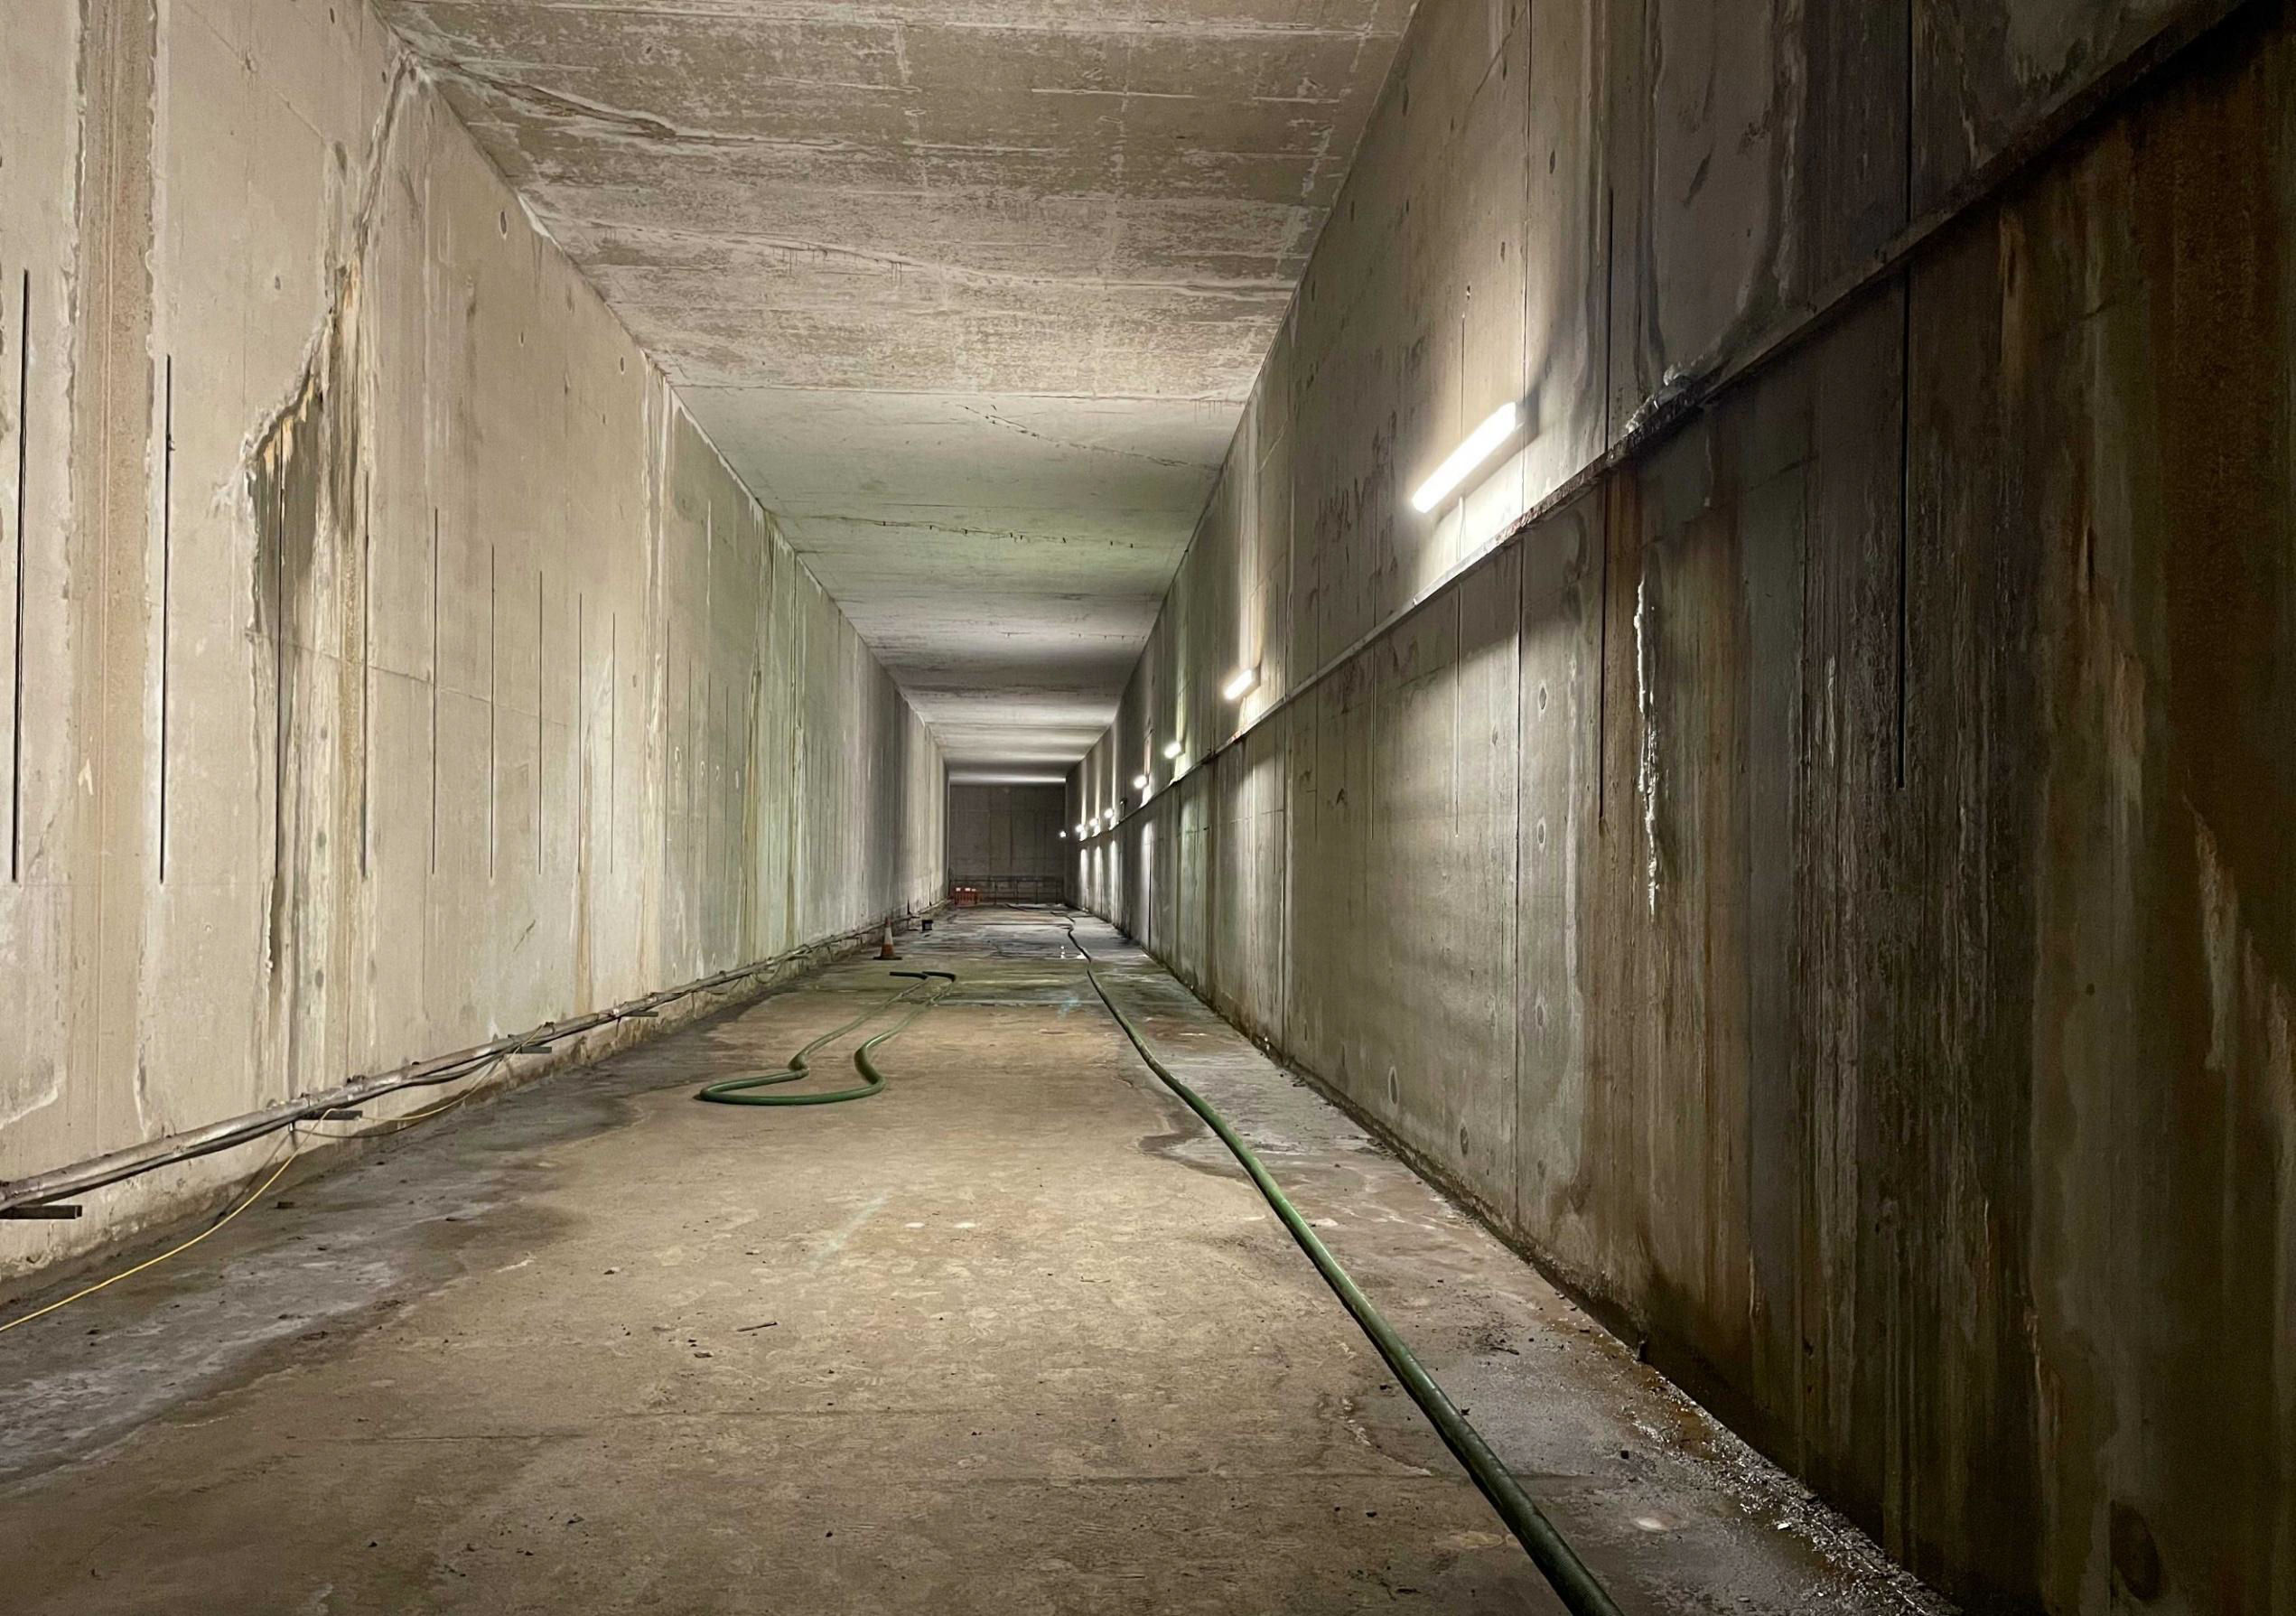
An empty tunnel leading off into the distance.
[© Adam Turner 2026]After another photo opportunity, we returned to the control room, where we said goodbye to our guides from Heathrow Rail, and continued on to the Heathrow Pods. The ULTra (Urban Light Rail transit) system is a Personal Rapid Transit (PRT) system based on pods, each with capacity for four passengers. They move along a guideway with radio technology. It should have revolutionised short-distance transit, however, so far, the Heathrow deployment is the only ULTra branded PRT system in use. It consists of three stations, one at the terminal and two at a remote car park on the northwestern edge of the airport.
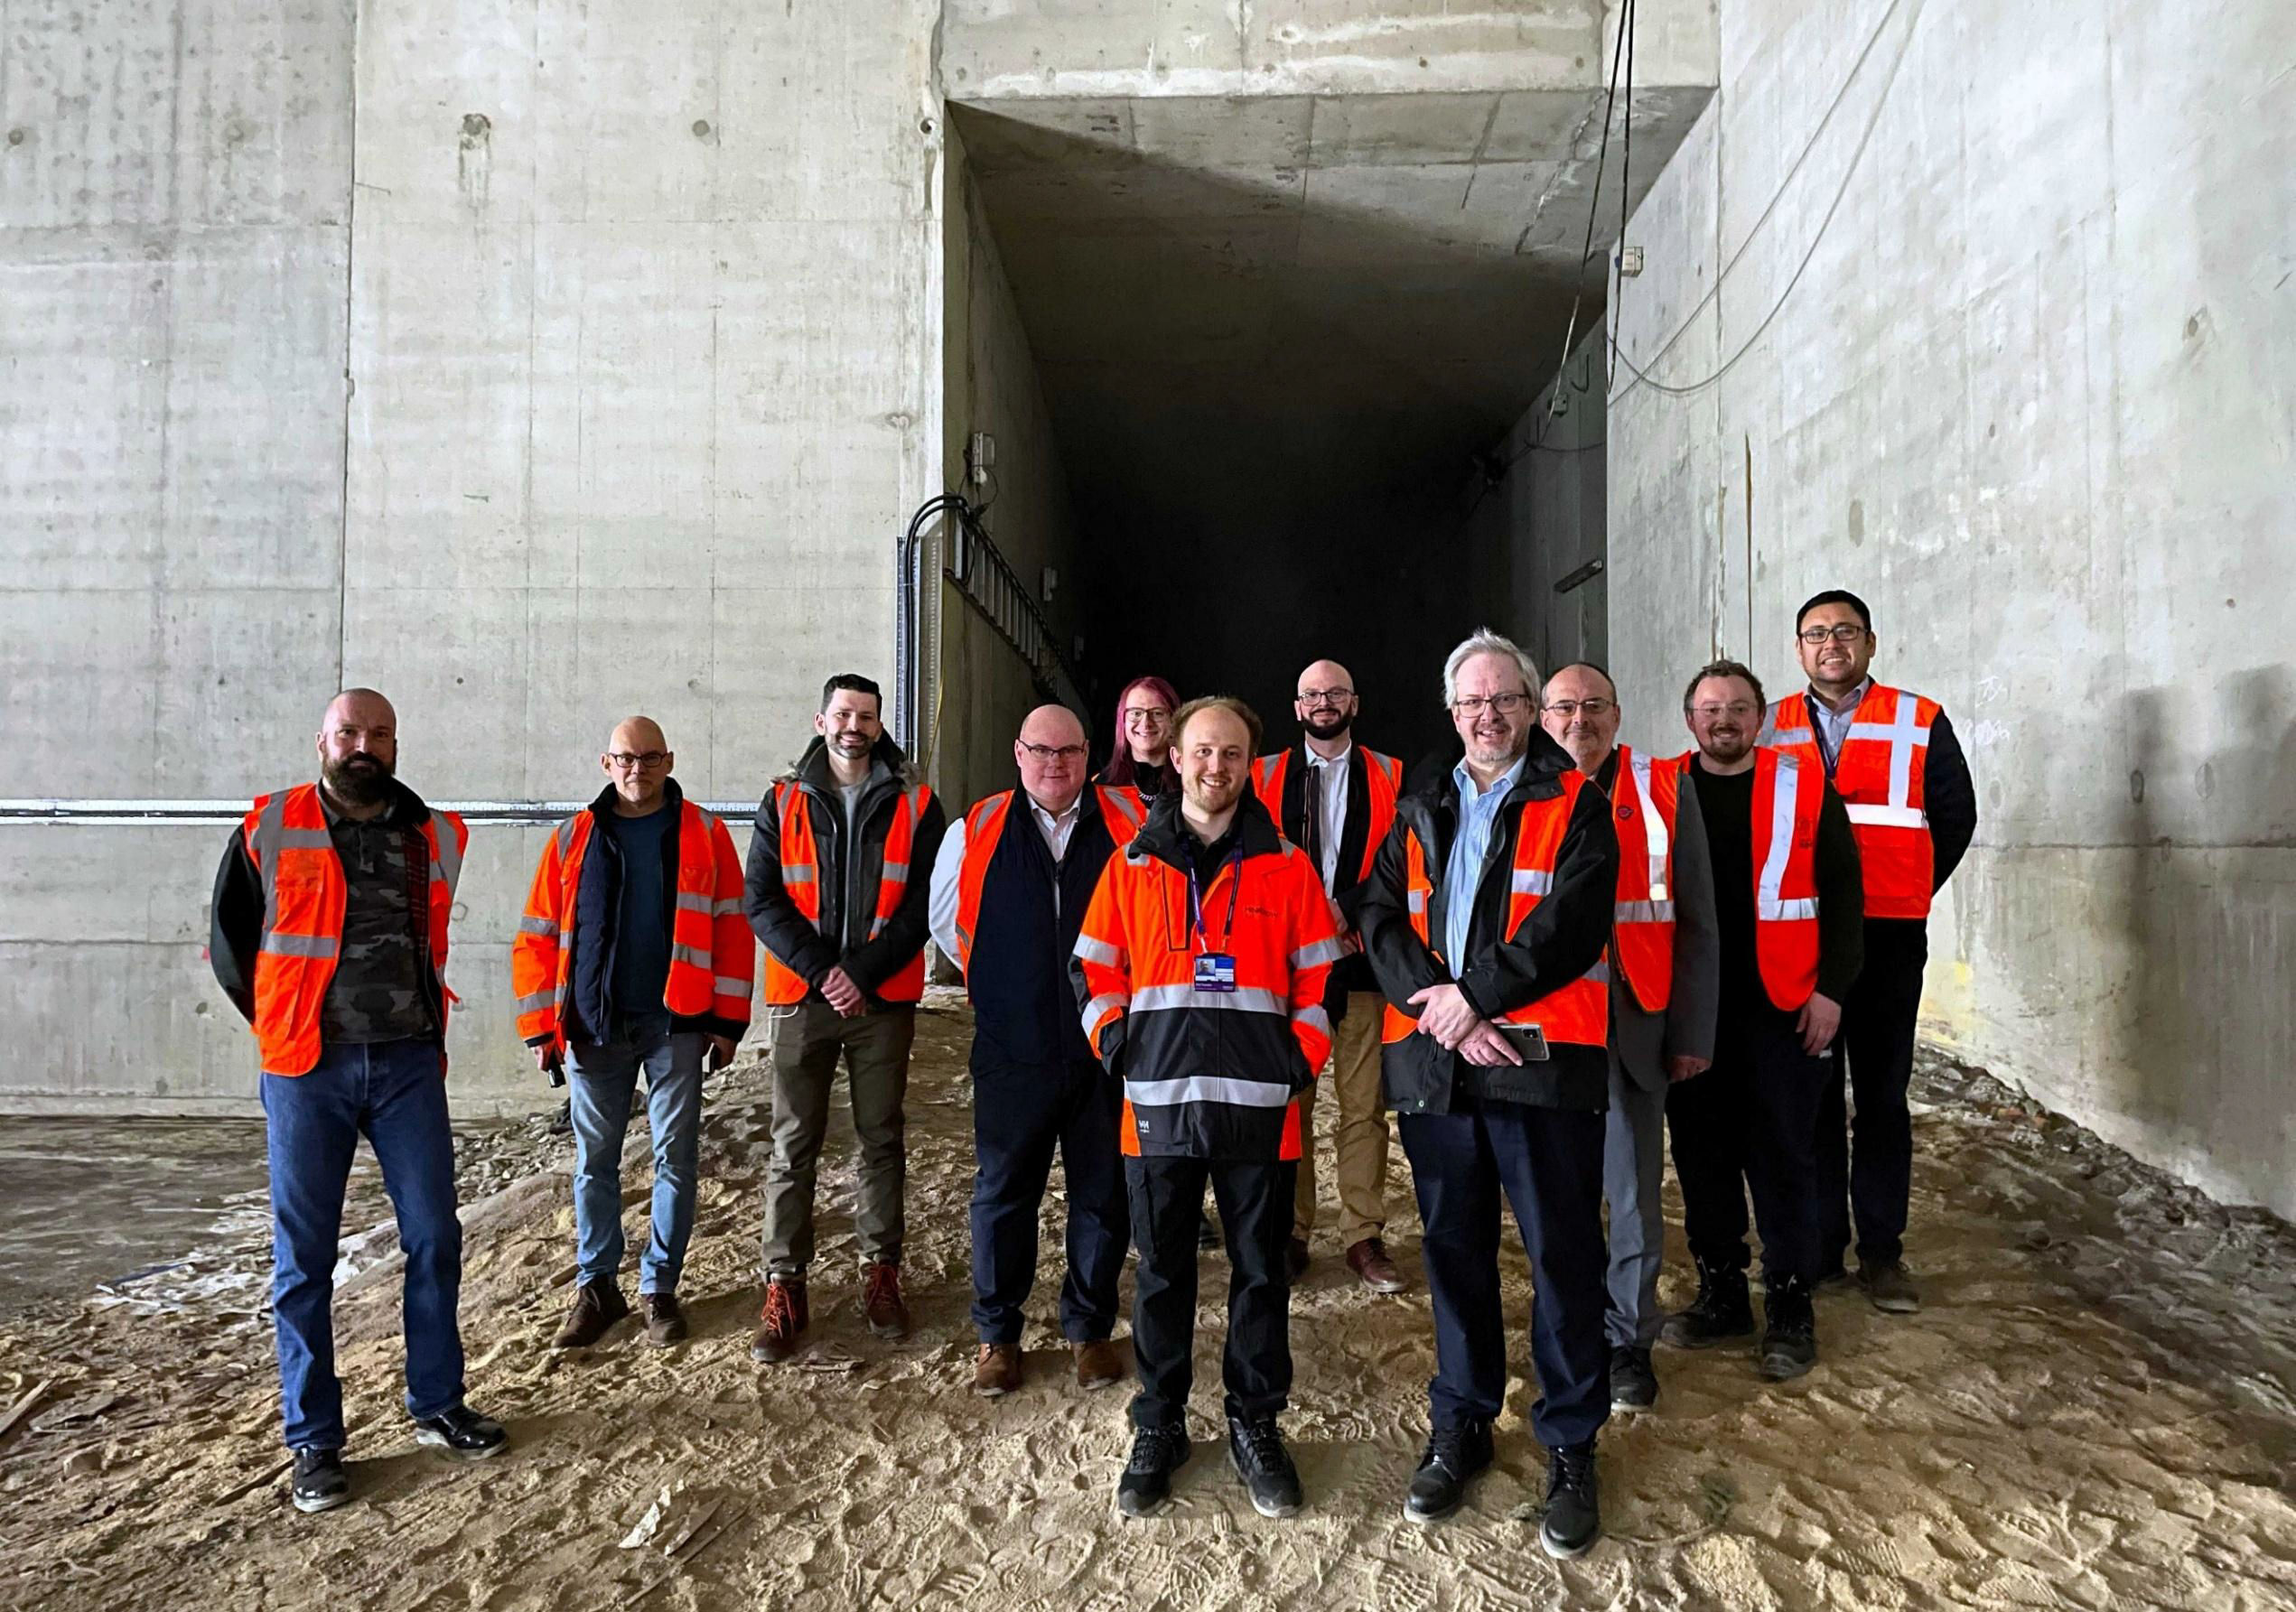
Group photo.
[© Adam Turner 2026]Each station has two bays which the pods reverse into. They are protected by screen doors and allow the pods to be charged through contacts on the floor. We went to Parking 'A' station, Parking 'B' station, then back to the terminal building, covering what I believe to be all available track in standard passenger service. Approaching the parking stations, a short ramp is visible, a connection to where the system could have been connected to further destinations along the northern edge of the airport.
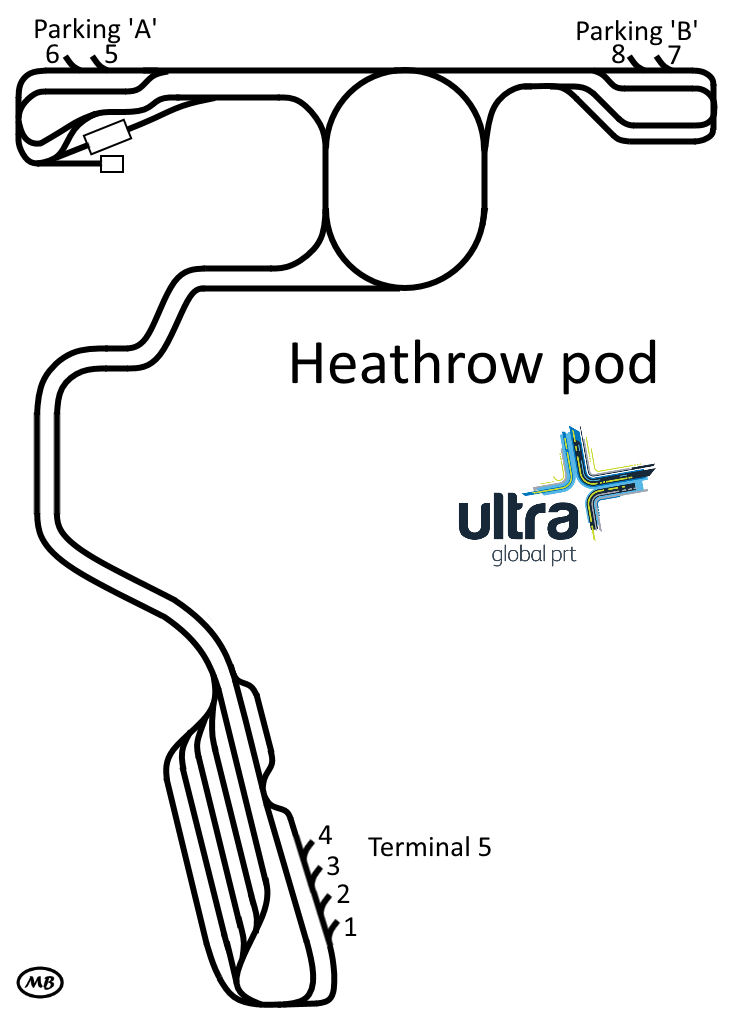
'Track plan'. See BLN 1291.2121 'Podcast' in BLN of 21 Oct 2017.
[© Martyn Brailsford 2026]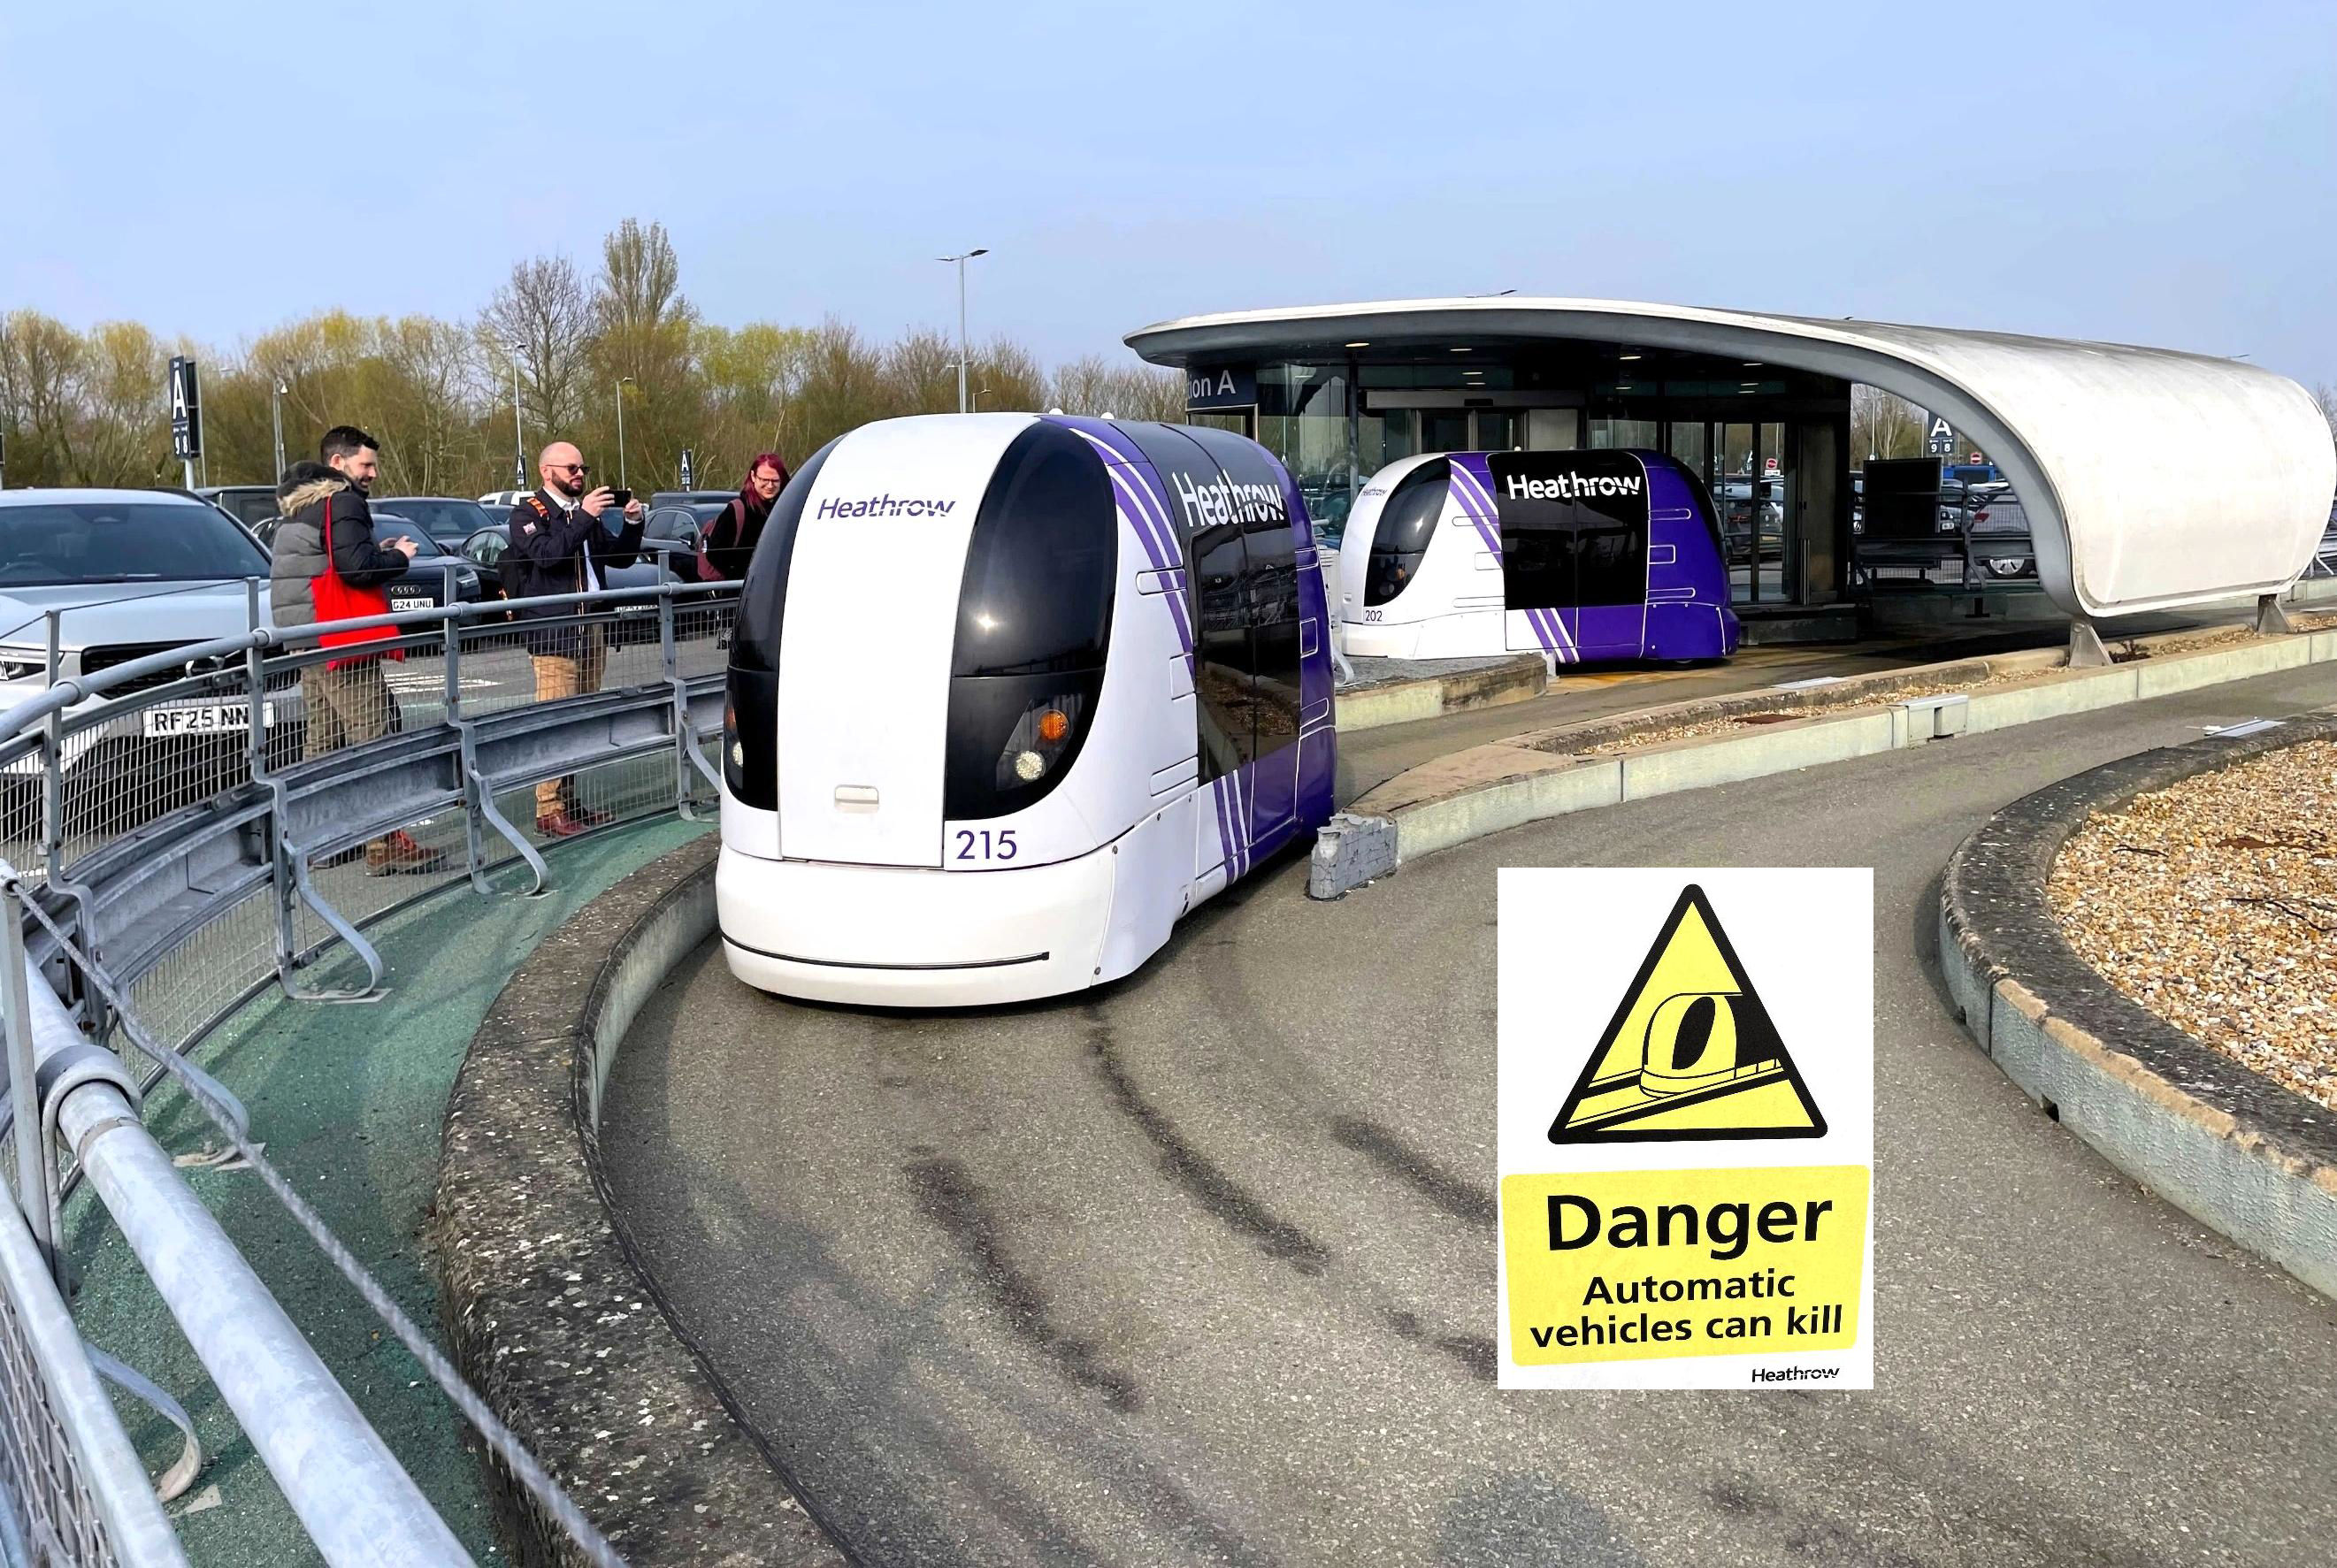
Heathrow pods at Car Park 'A'; Joe Brown, of London etc Railway Atlas, is centre of the three. Bottom right: You were warned (single journeys only‽).
[© Adam Turner 2026]From there, some continued to other stations in the area but I had to return to work. Many thanks again to Adam Turner and the whole Heathrow Rail team, who made this extraordinary visit and look behind the scenes possible.
https://tinyurl.com/2zv5adwa is a 1 min video of Heathrow T5 'phantom station'.
It is a sign of the popularity of these visits that this one filled in just 12 mins. As a result of this fixture, a donation of £313.60p was made to the Northwick Park Hospital League of Friends.
Adam Turner adds: Reaching the Piccadilly line at T5, our groups found that the frequency of service was not great, so they went to Heathrow Terminals 2 & 3. (This name of the station as it appears on the tube map but the station retains Heathrow Terminals 1, 2 & 3 signs - somewhat of an identity crisis!) There, at platform level, was the Concorde logo artwork, understood to have been designed by Tom Eckersley (described by London Transport Museum
https://tinyurl.com/nhek8k6t as a 'master graphic designer and king of collage'). He spent 60 years designing distinctive posters. Everyone still present, having had a great day, made a decision to leave Hatton Cross and Heathrow Terminal 4 for another day. They all went different ways, some for the Elizabeth line or Heathrow Express, others upstairs for buses etc.
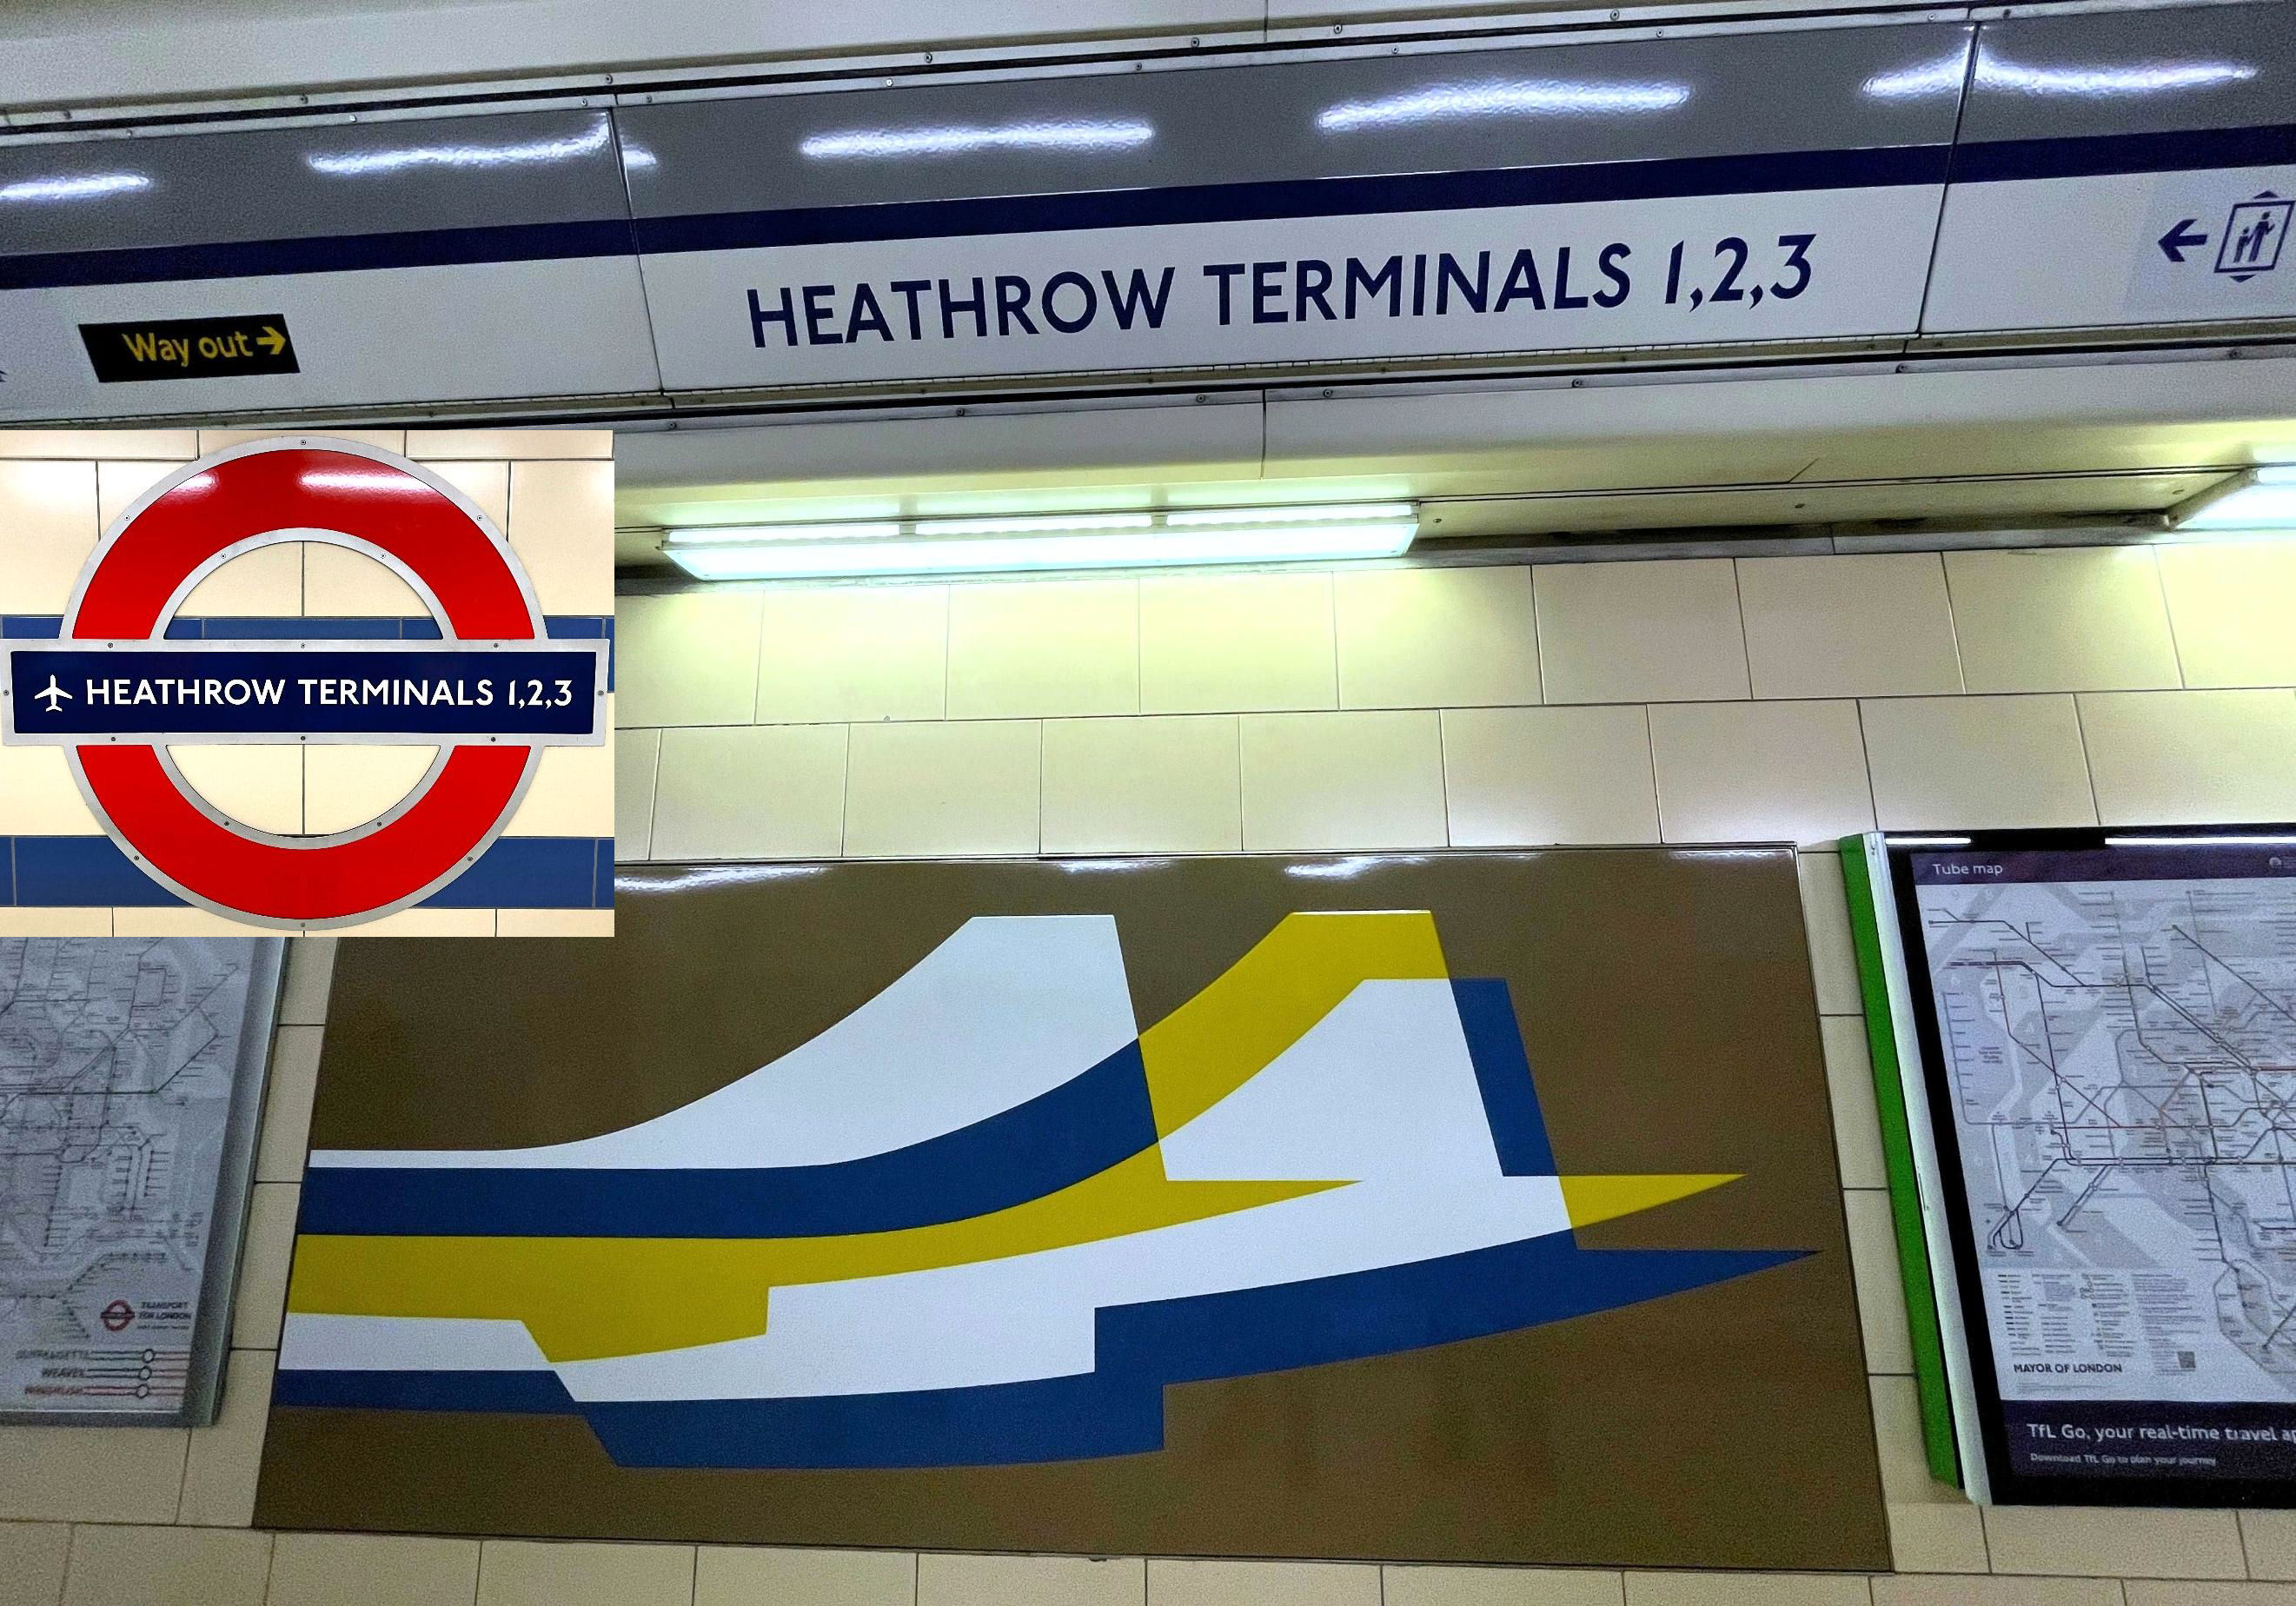
Heathrow Terminals 2 & 3 station retain Heathrow Terminals 1, 2 & 3 signs. At platform level, was the Concorde logo artwork, understood to have been designed by Tom Eckersley.
[© Adam Turner 2026]